First is first, if you haven’t seen the Christmas video yet, here you have it:
This year’s Christmas video has been a challenge for many reasons. Mainly, because it was done in less than one week. In this article I am going to breakdown some of the main shots of the video, explaining some tips and techniques I used or started using for the first time.
DAY 1 – Fluid Simulations
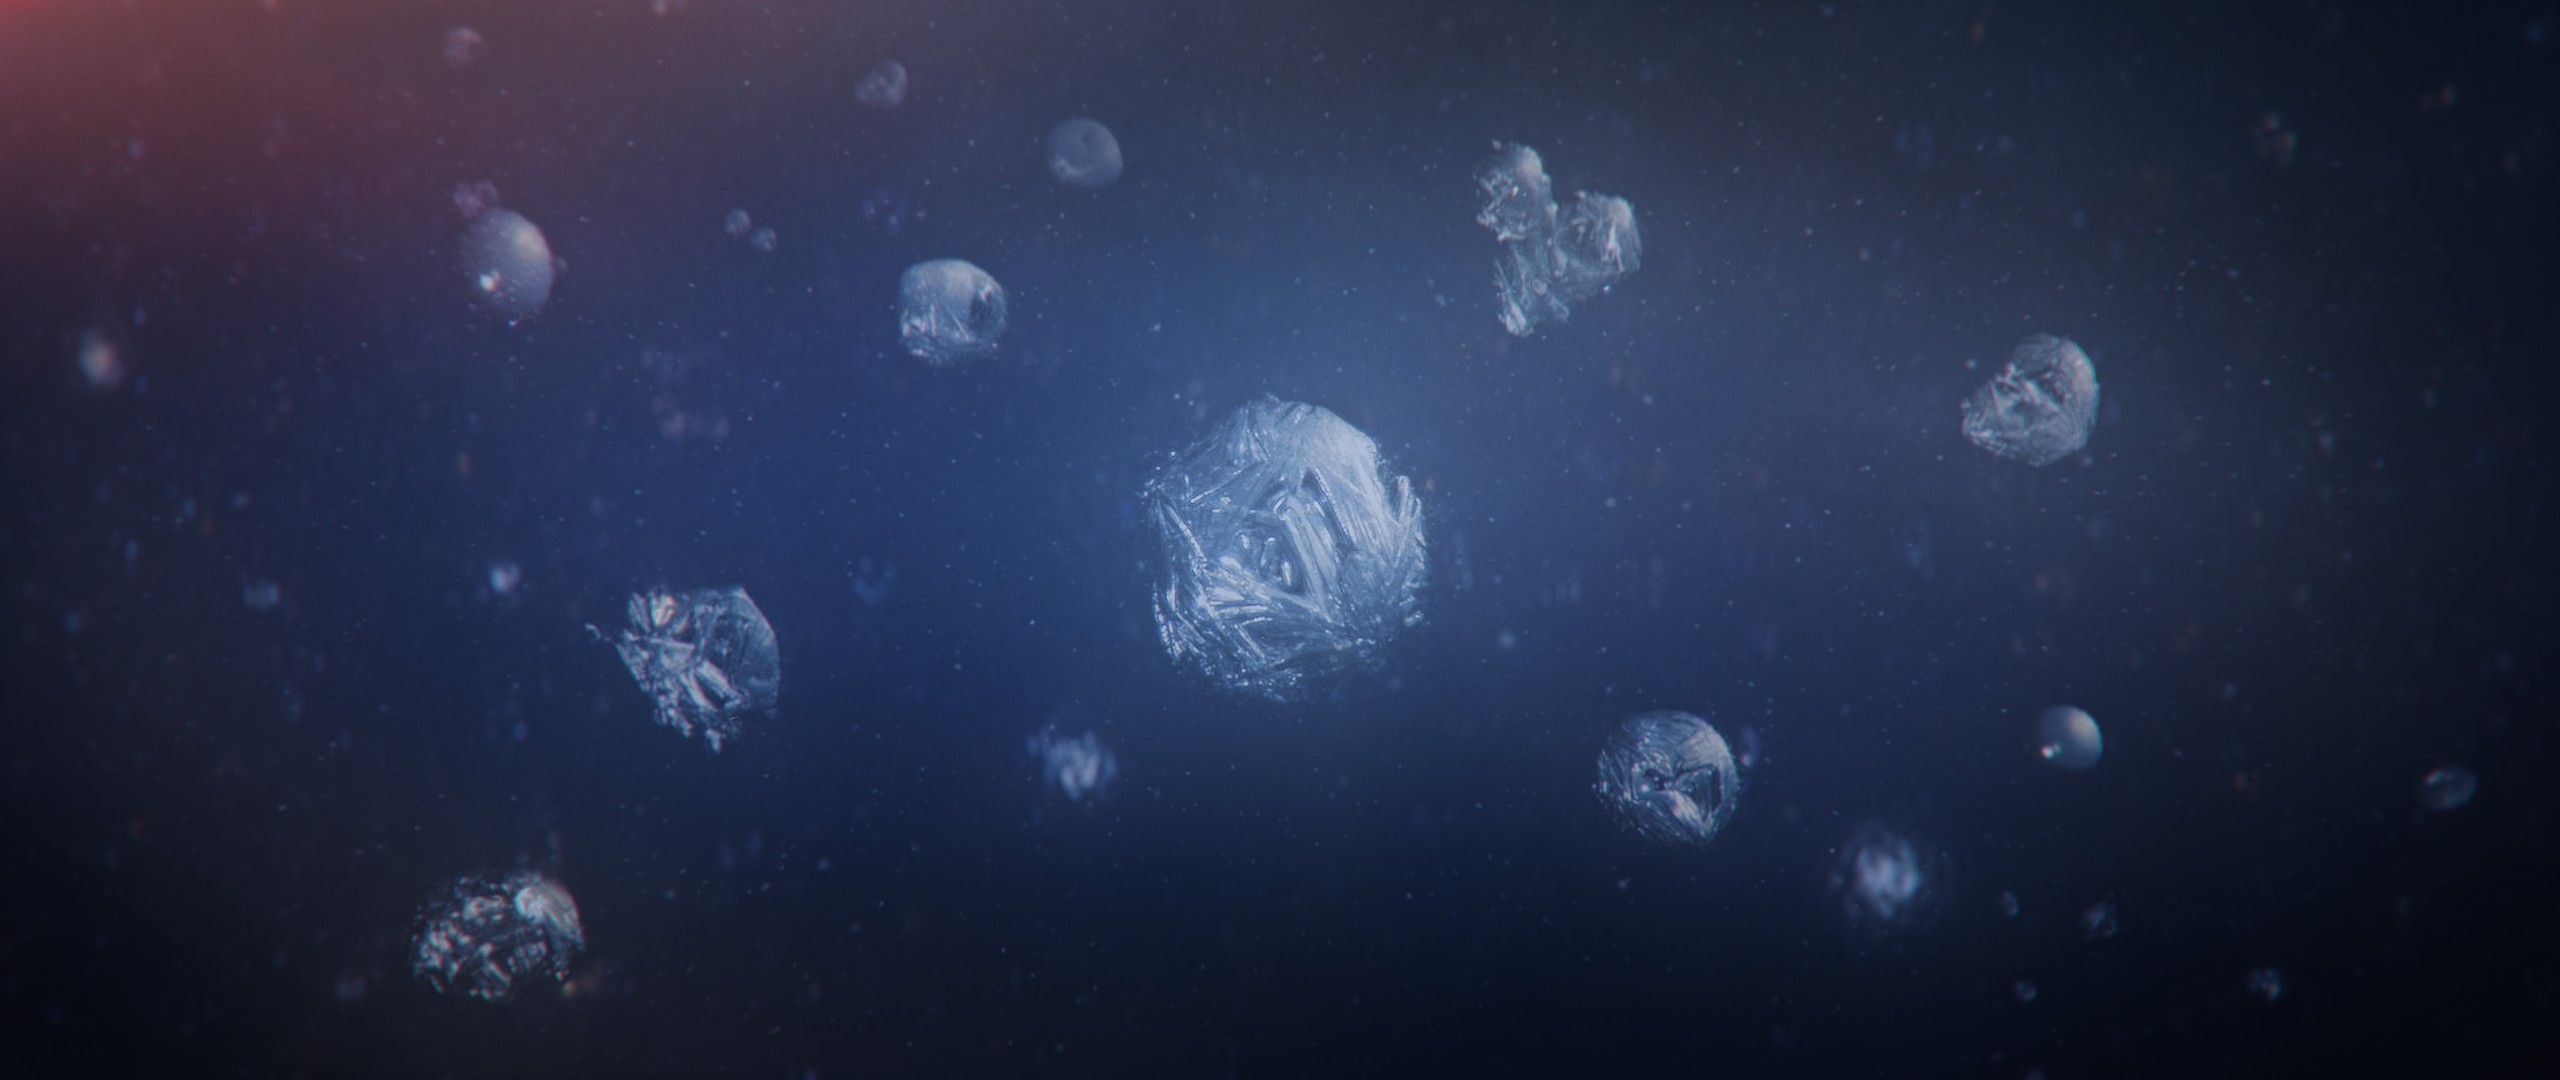
♪ On the first day of Christmas my true love sent to me a Real Flow license key. ♪ What would Christmas be without all the traditions, the Christmas carols and the dozens of hours of RealFlow and FumeFX simulations? This is my first project which features somehow RealFlow. I have just been playing with it one month and the learning curve is tremendous. The compositing of these shots was done with Nuke.
The reason to start with the clouds and water is that while one computer is simulating I can work on another PC. Because I only have a few days, If the simulation fails or doesn’t look quite as I expected I still have time to run it again, but no third chances!
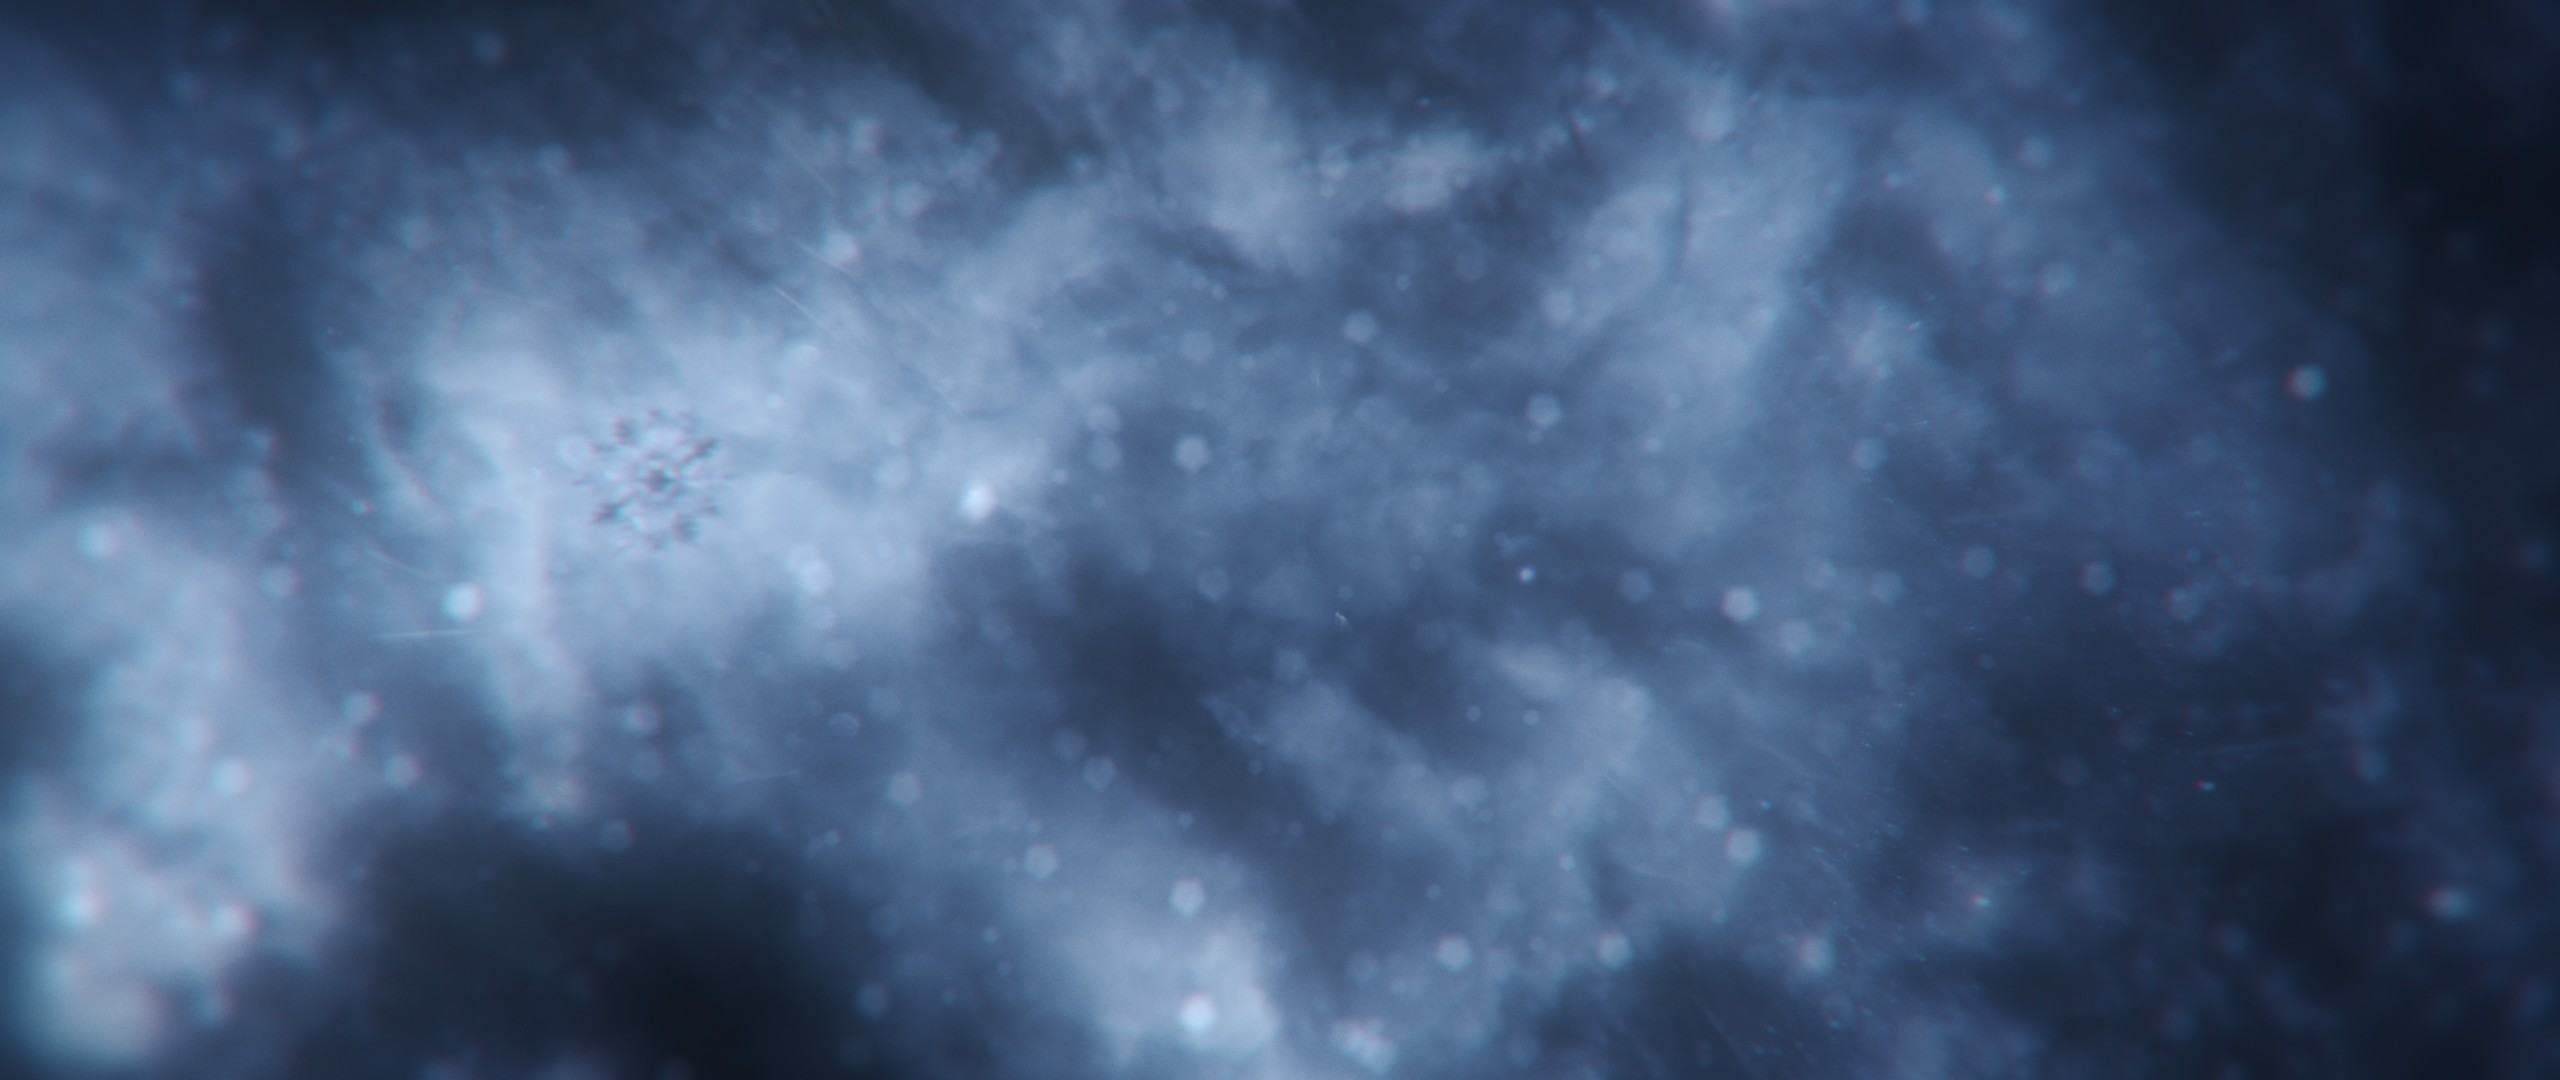
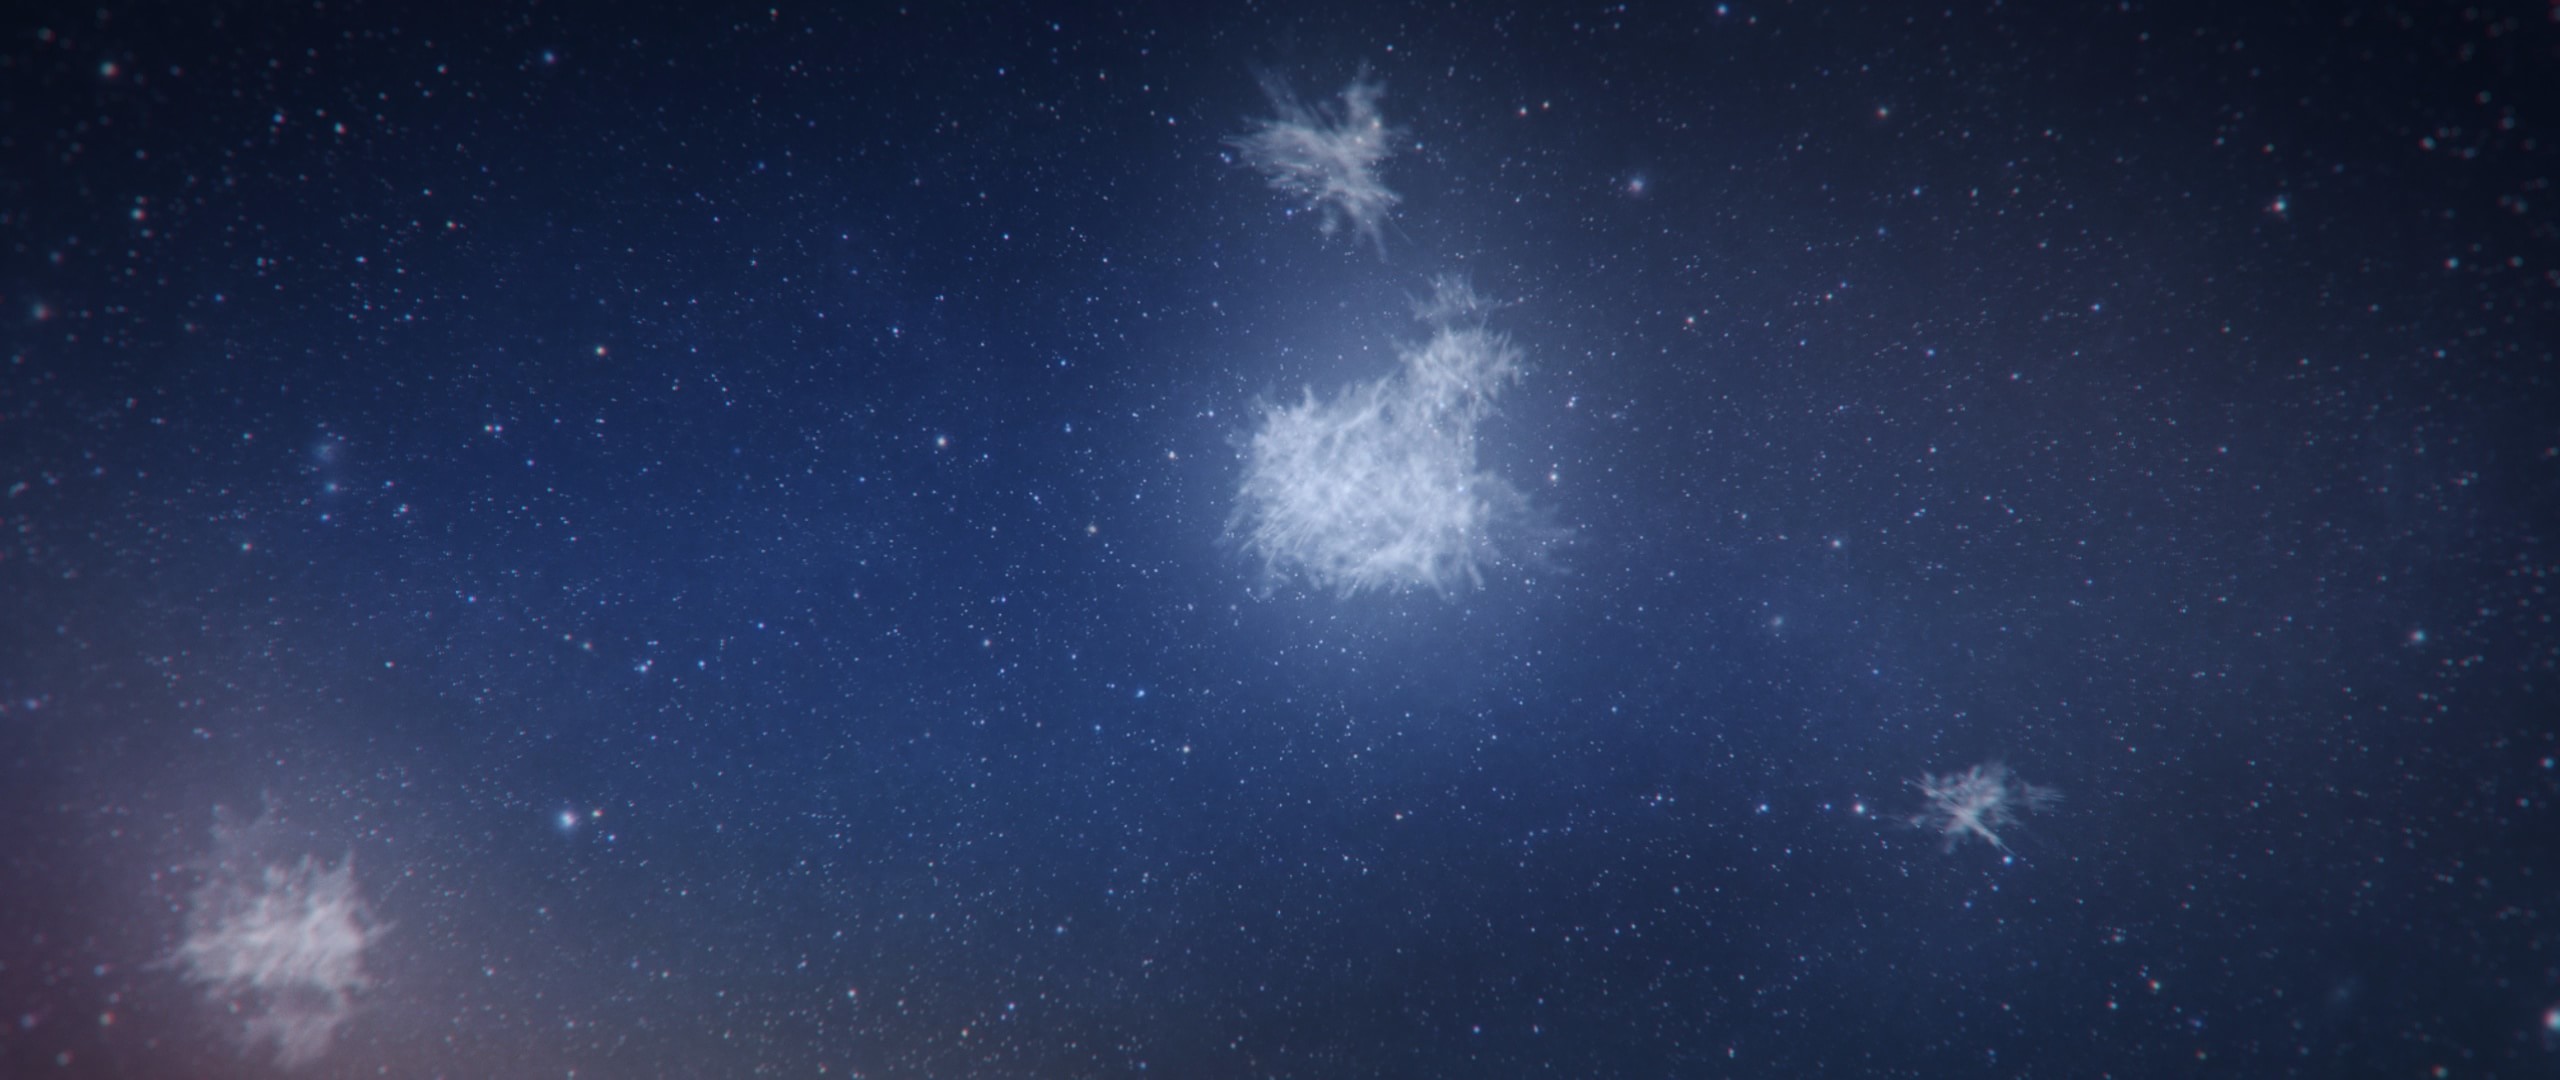
The clouds set up was a little bit tricky, so I finally decided to simulate it backwards. What I really rendered were the clouds coming closer to the camera, and I didn’t reverse that before importing the sequence to Nuke. That’s the reason why the clouds look “too simple” sometimes. The wavelet turbulence has not affected the last frames, because initially those were the lasts.


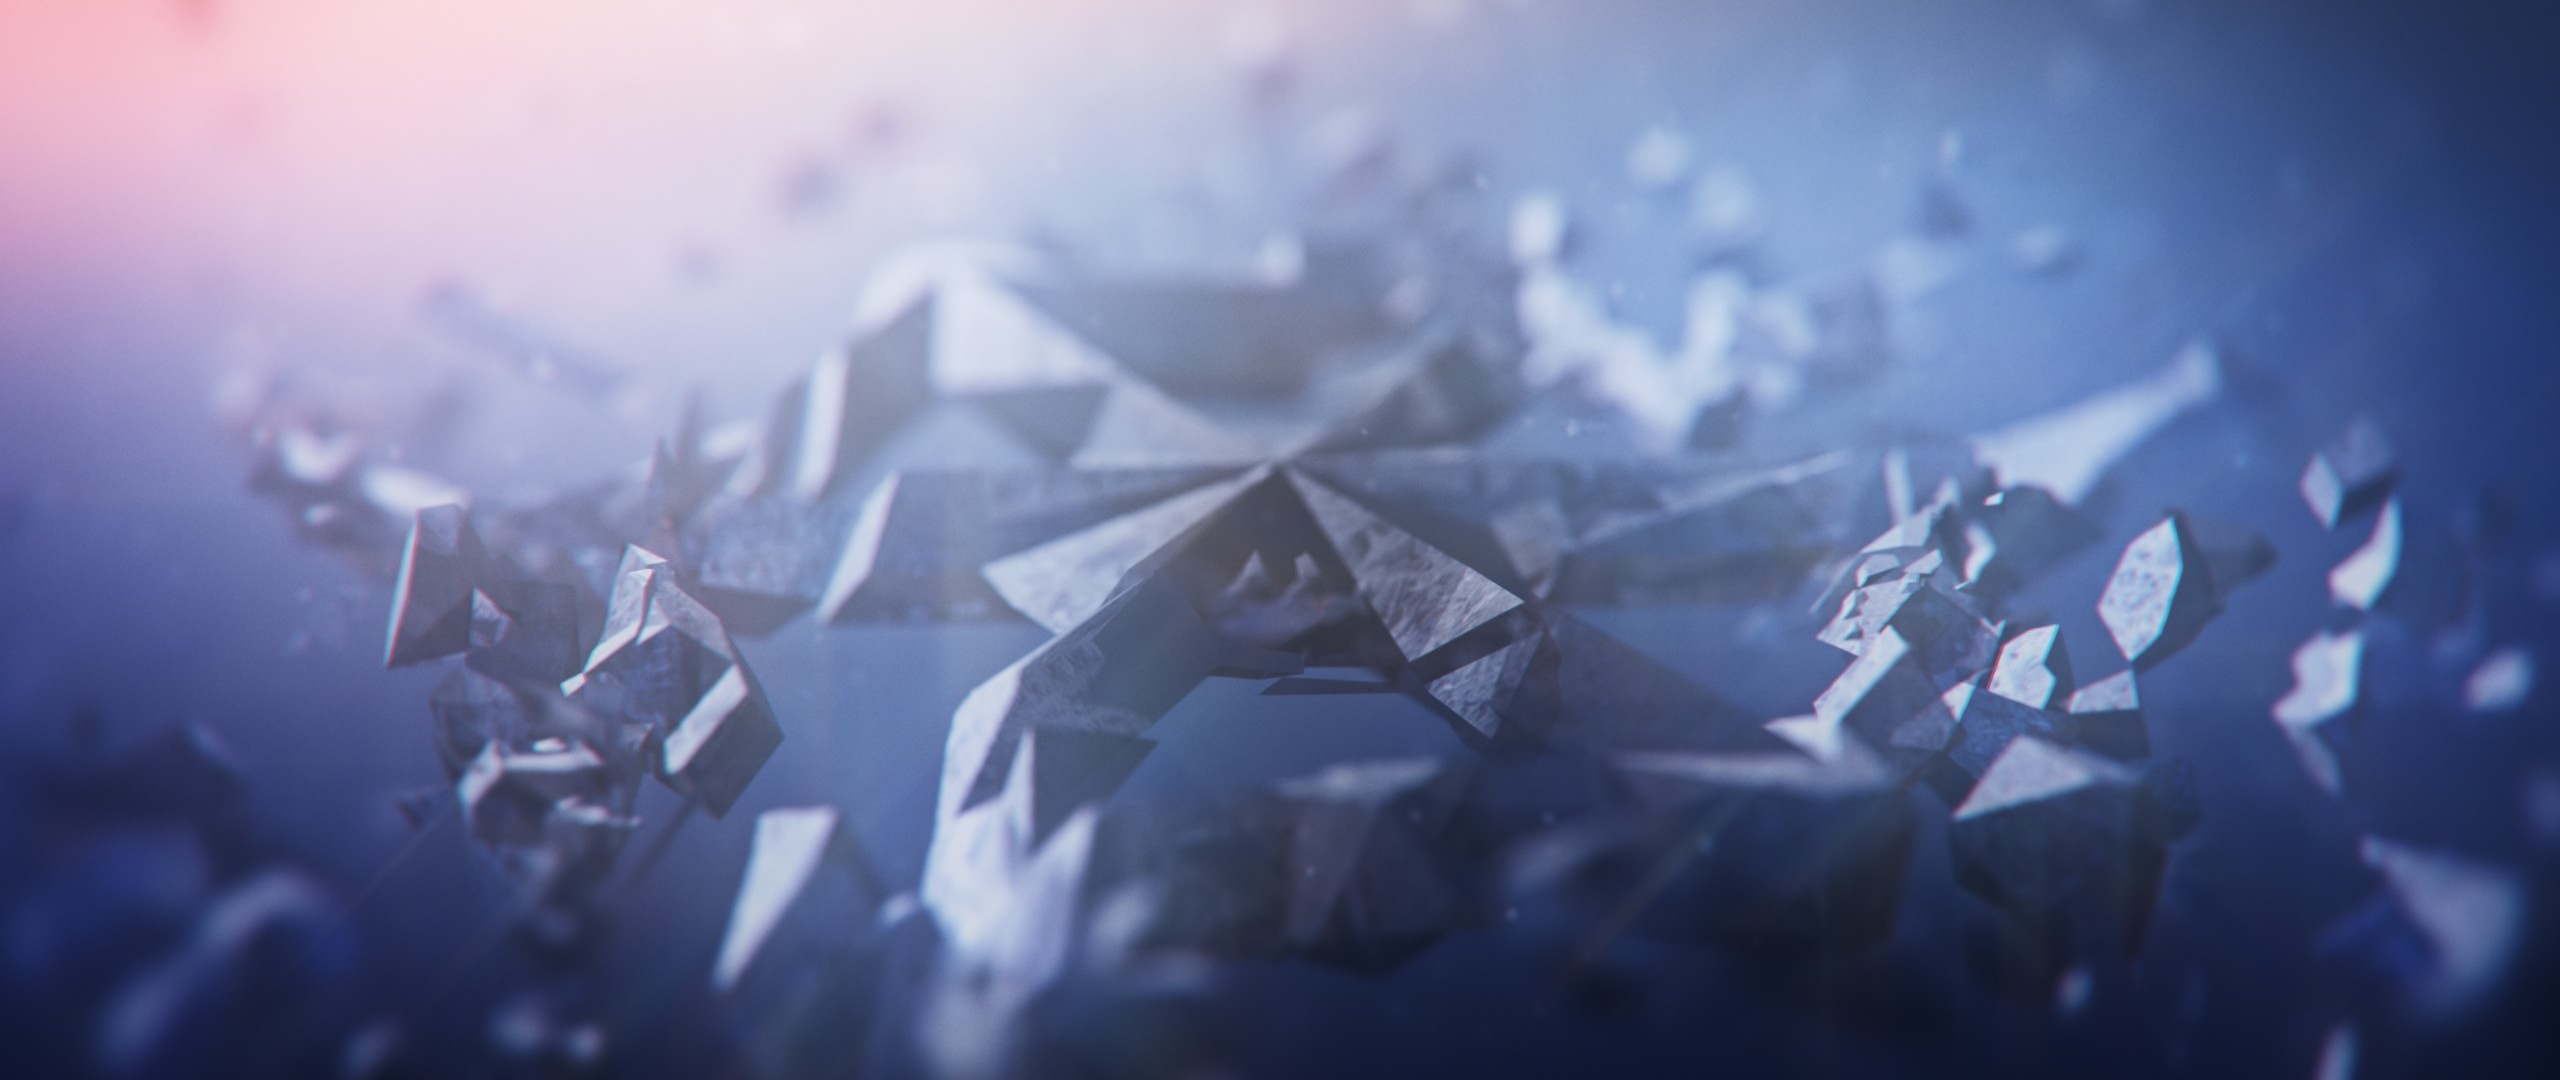
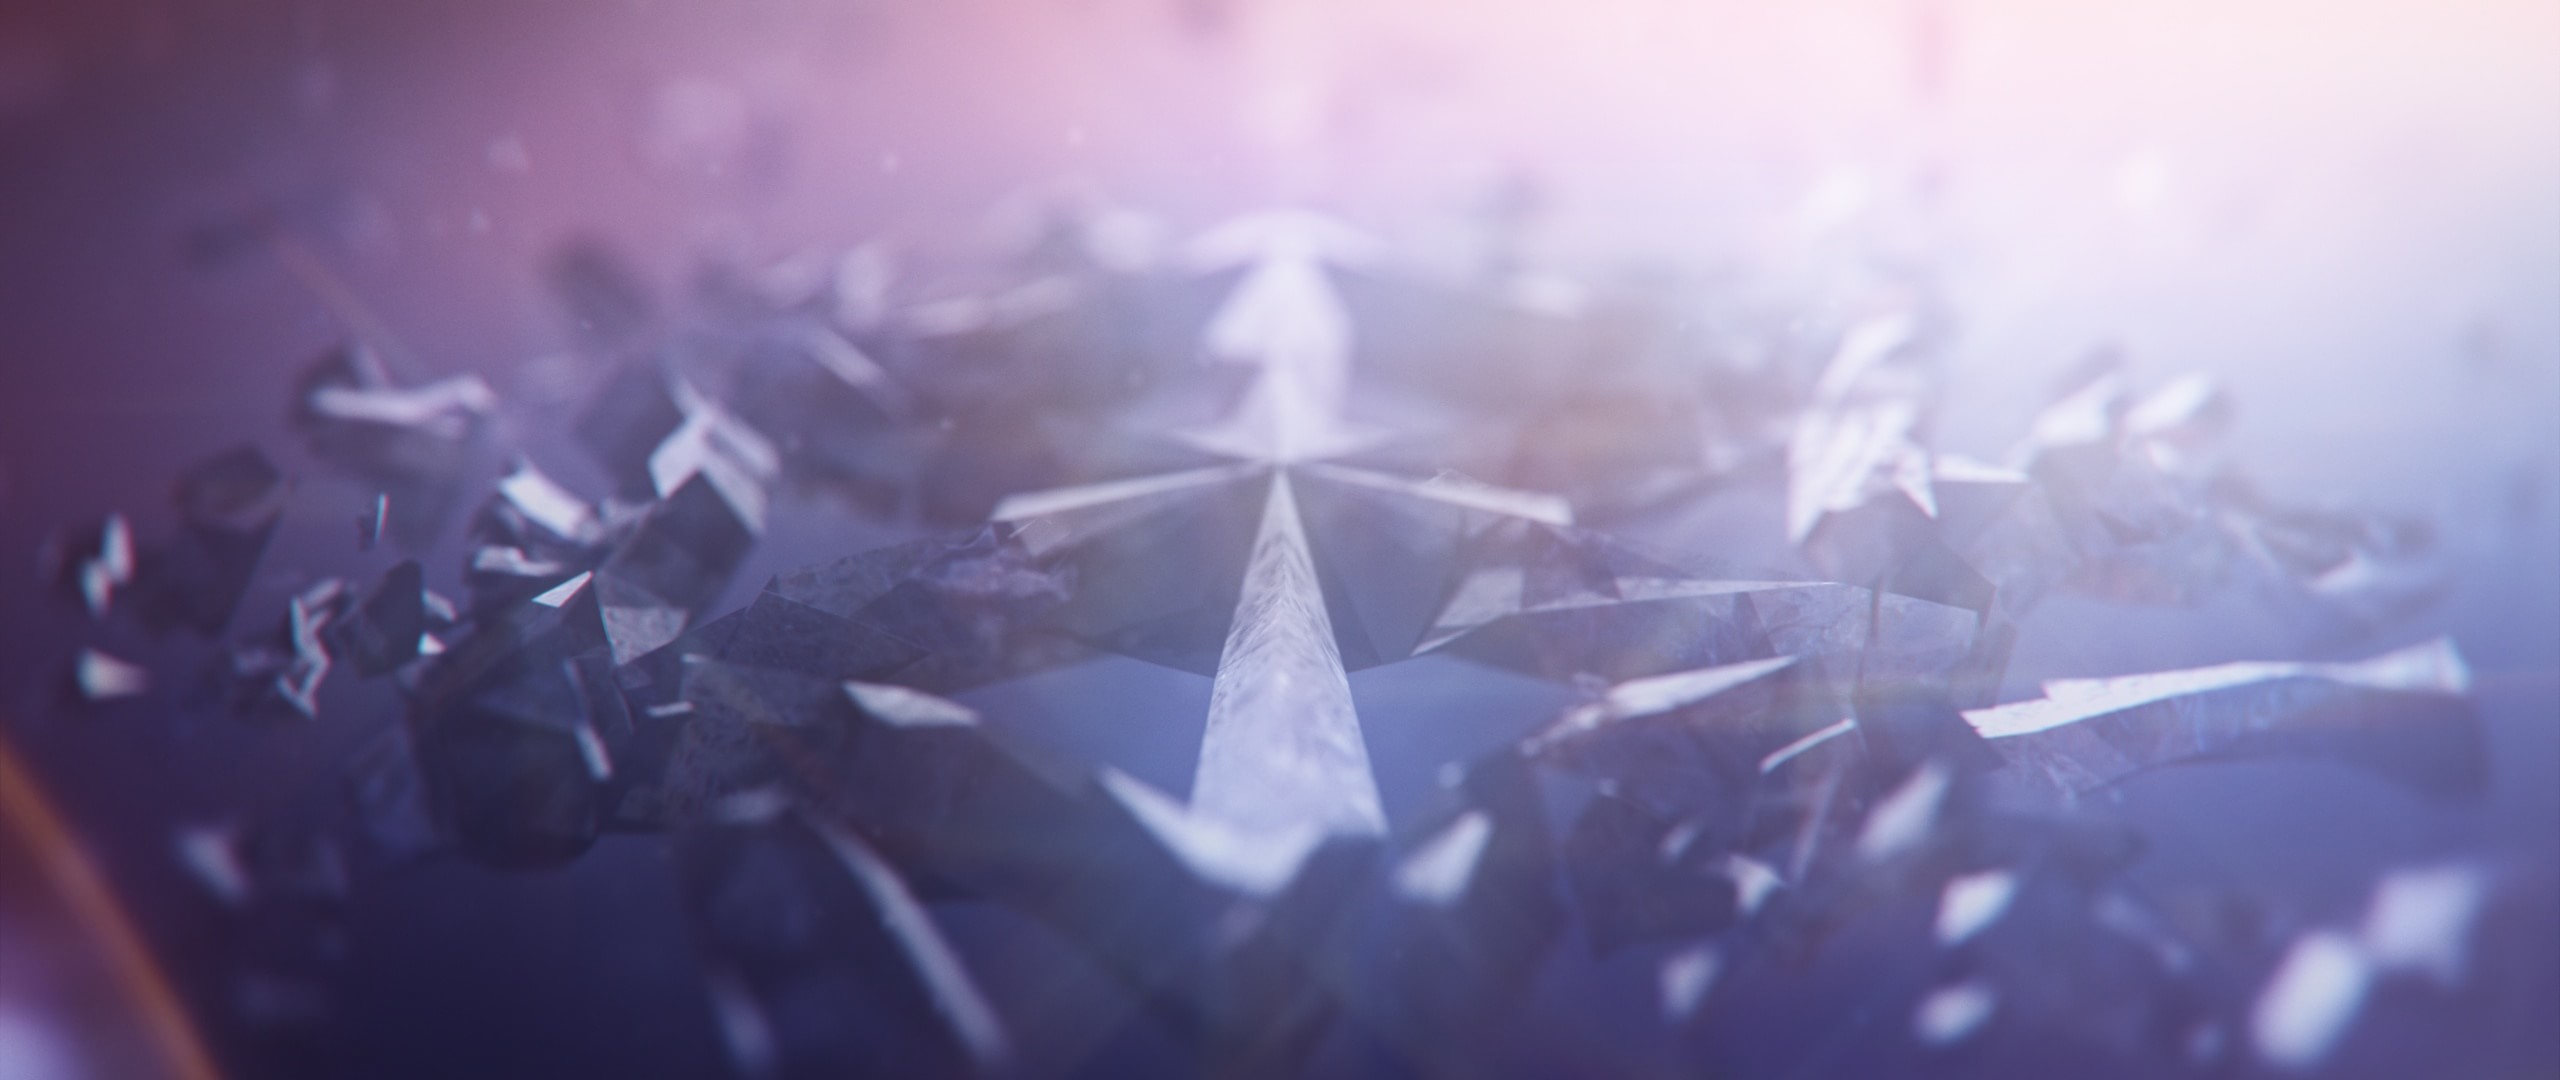
DAY 2 – Modelling and Fracturing
The Christmas snowflake model was done with Maya. Using lots and lots of image references I finally made my own fractal design on photoshop. Then I imported as an image plane and I started modelling from there. None of its corners is perfectly symmetrical. I had to model it with a very small amount of polygons, because I knew that it was going to be fractured in very small pieces.
To do so I exported the mesh to 3ds Max and fractured using the Fracture Voronoi Script. With just a few more clicks I had my snowflake in 1000 pieces, ready to be animated. Then I exported the mash as an obj and imported it into Element 3D 1.6.
The Element 3D animation engine allowed me to quickly get what I had in mind. The lightning speed render times were the key of succeeding on this project. If I had to rely on Mental Ray or Arnold render times for every shot it would have been impossible to have everything done in just one week.

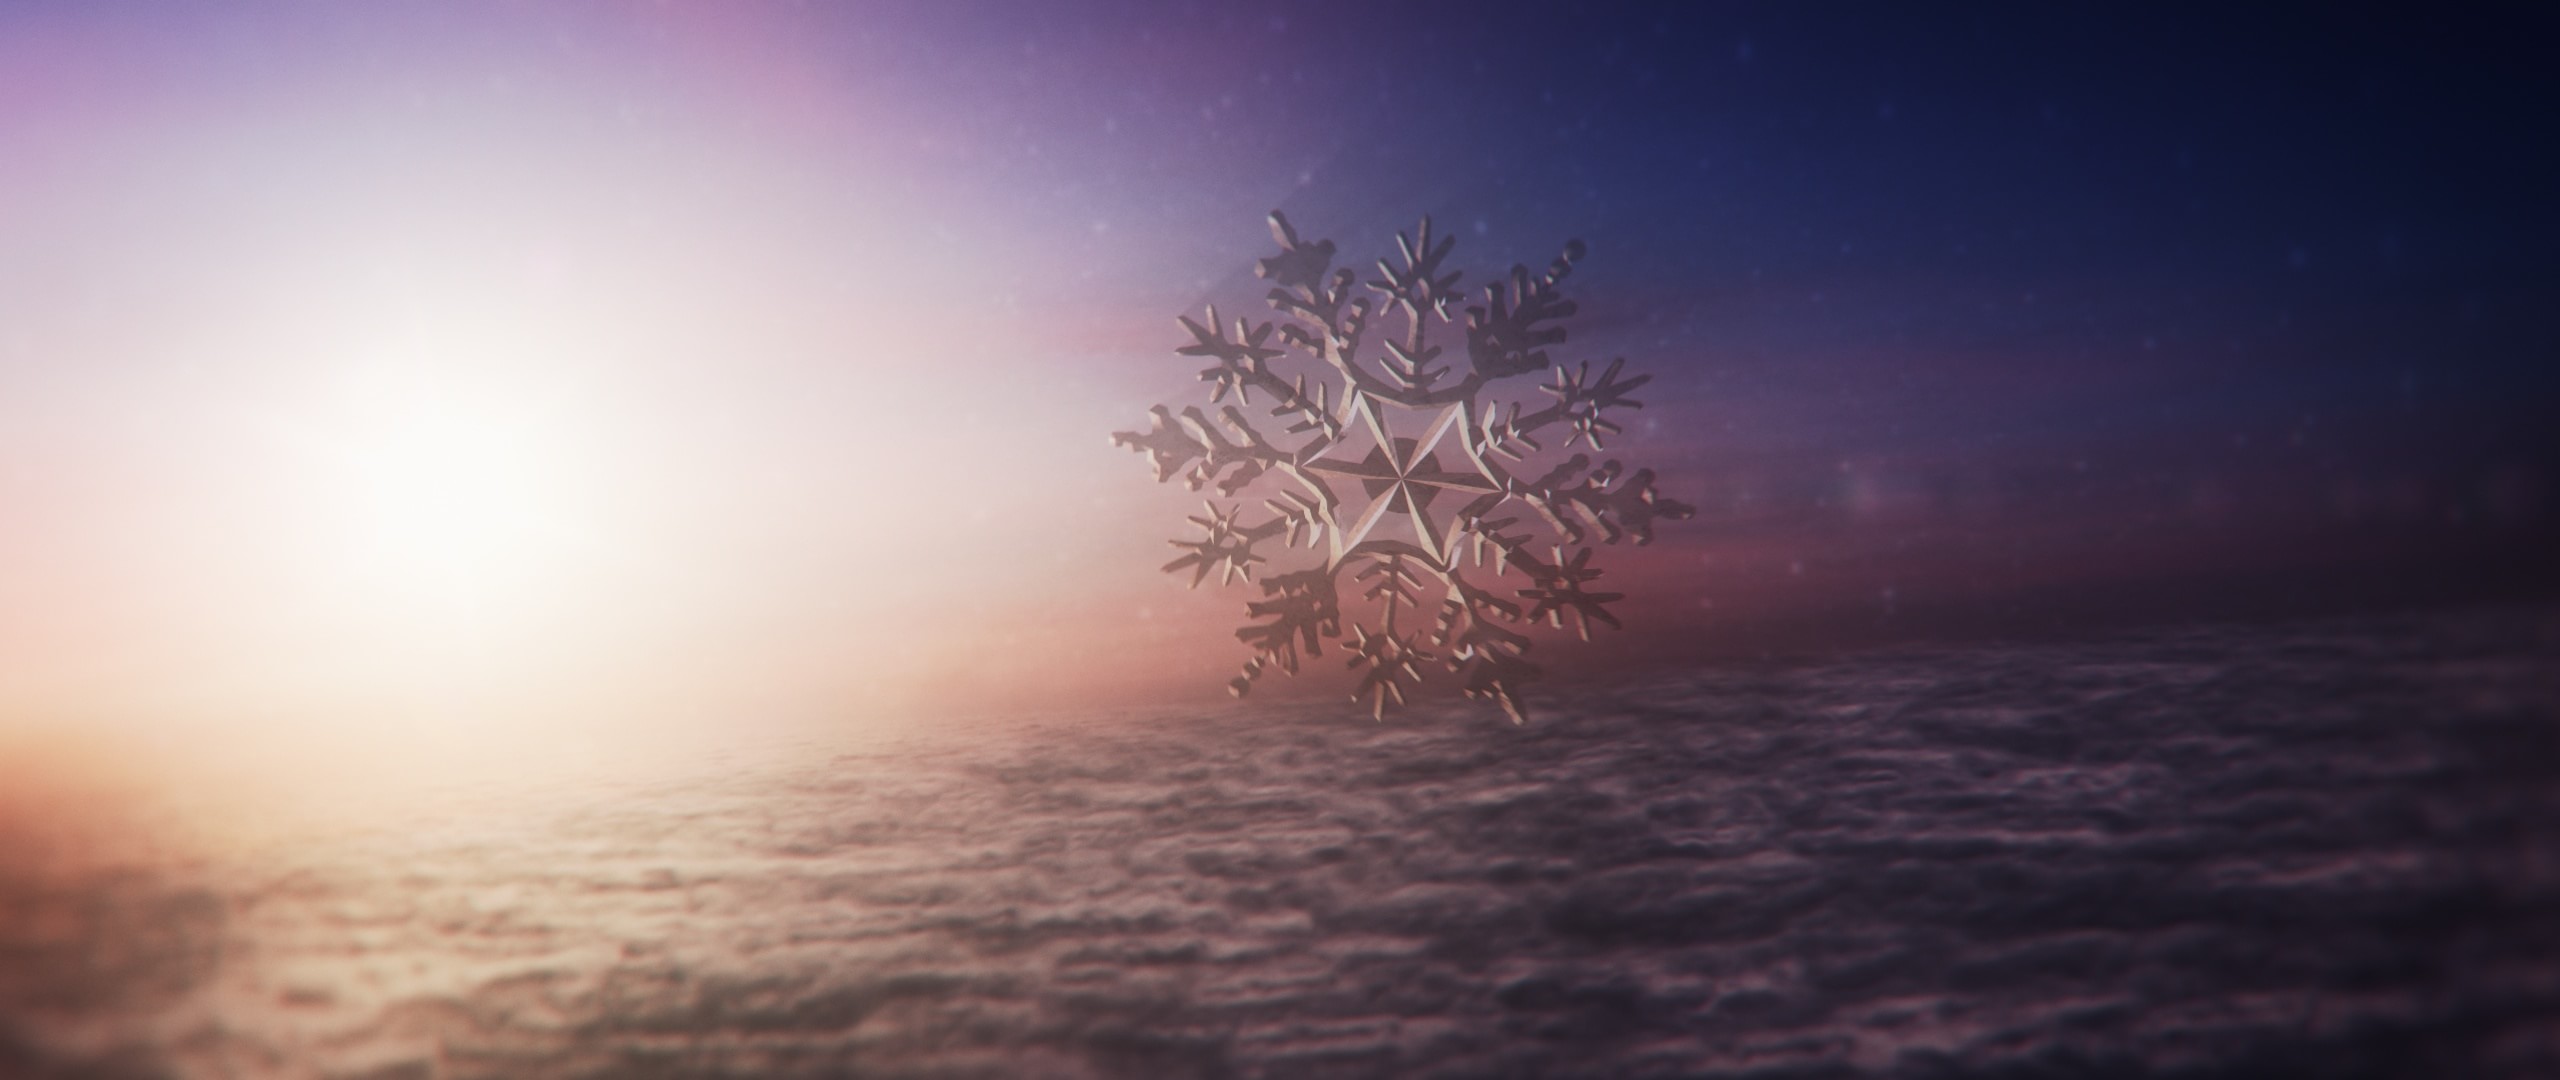
DAY 3 – Painting above the Clouds
The moment before the snowflake falls into the storm had to be beautiful. To make this sunset over the clouds I painted the further layer of clouds on Photoshop and use them as an image plane, scattered in the 3D space. For the close to camera clouds I used Trapcode Particular with the same cloud sprites I used for the Photoshop layers. Choosing the bright warm colours as opposite to the dark cold storm palette was a very important task.
The mountains shot was a combination of 3D rendered objects and matte paiting for the sky, mountains and trees. The integration between After Effects and Photoshop allowed me to quickly jump from one software to another in order to tweak the final result.
I will be covering the matte painting topic in a future article, as well as some experiments I’ve been doing with using matte paintings with my ZDepth generation technique. No, not any spoilers this time.
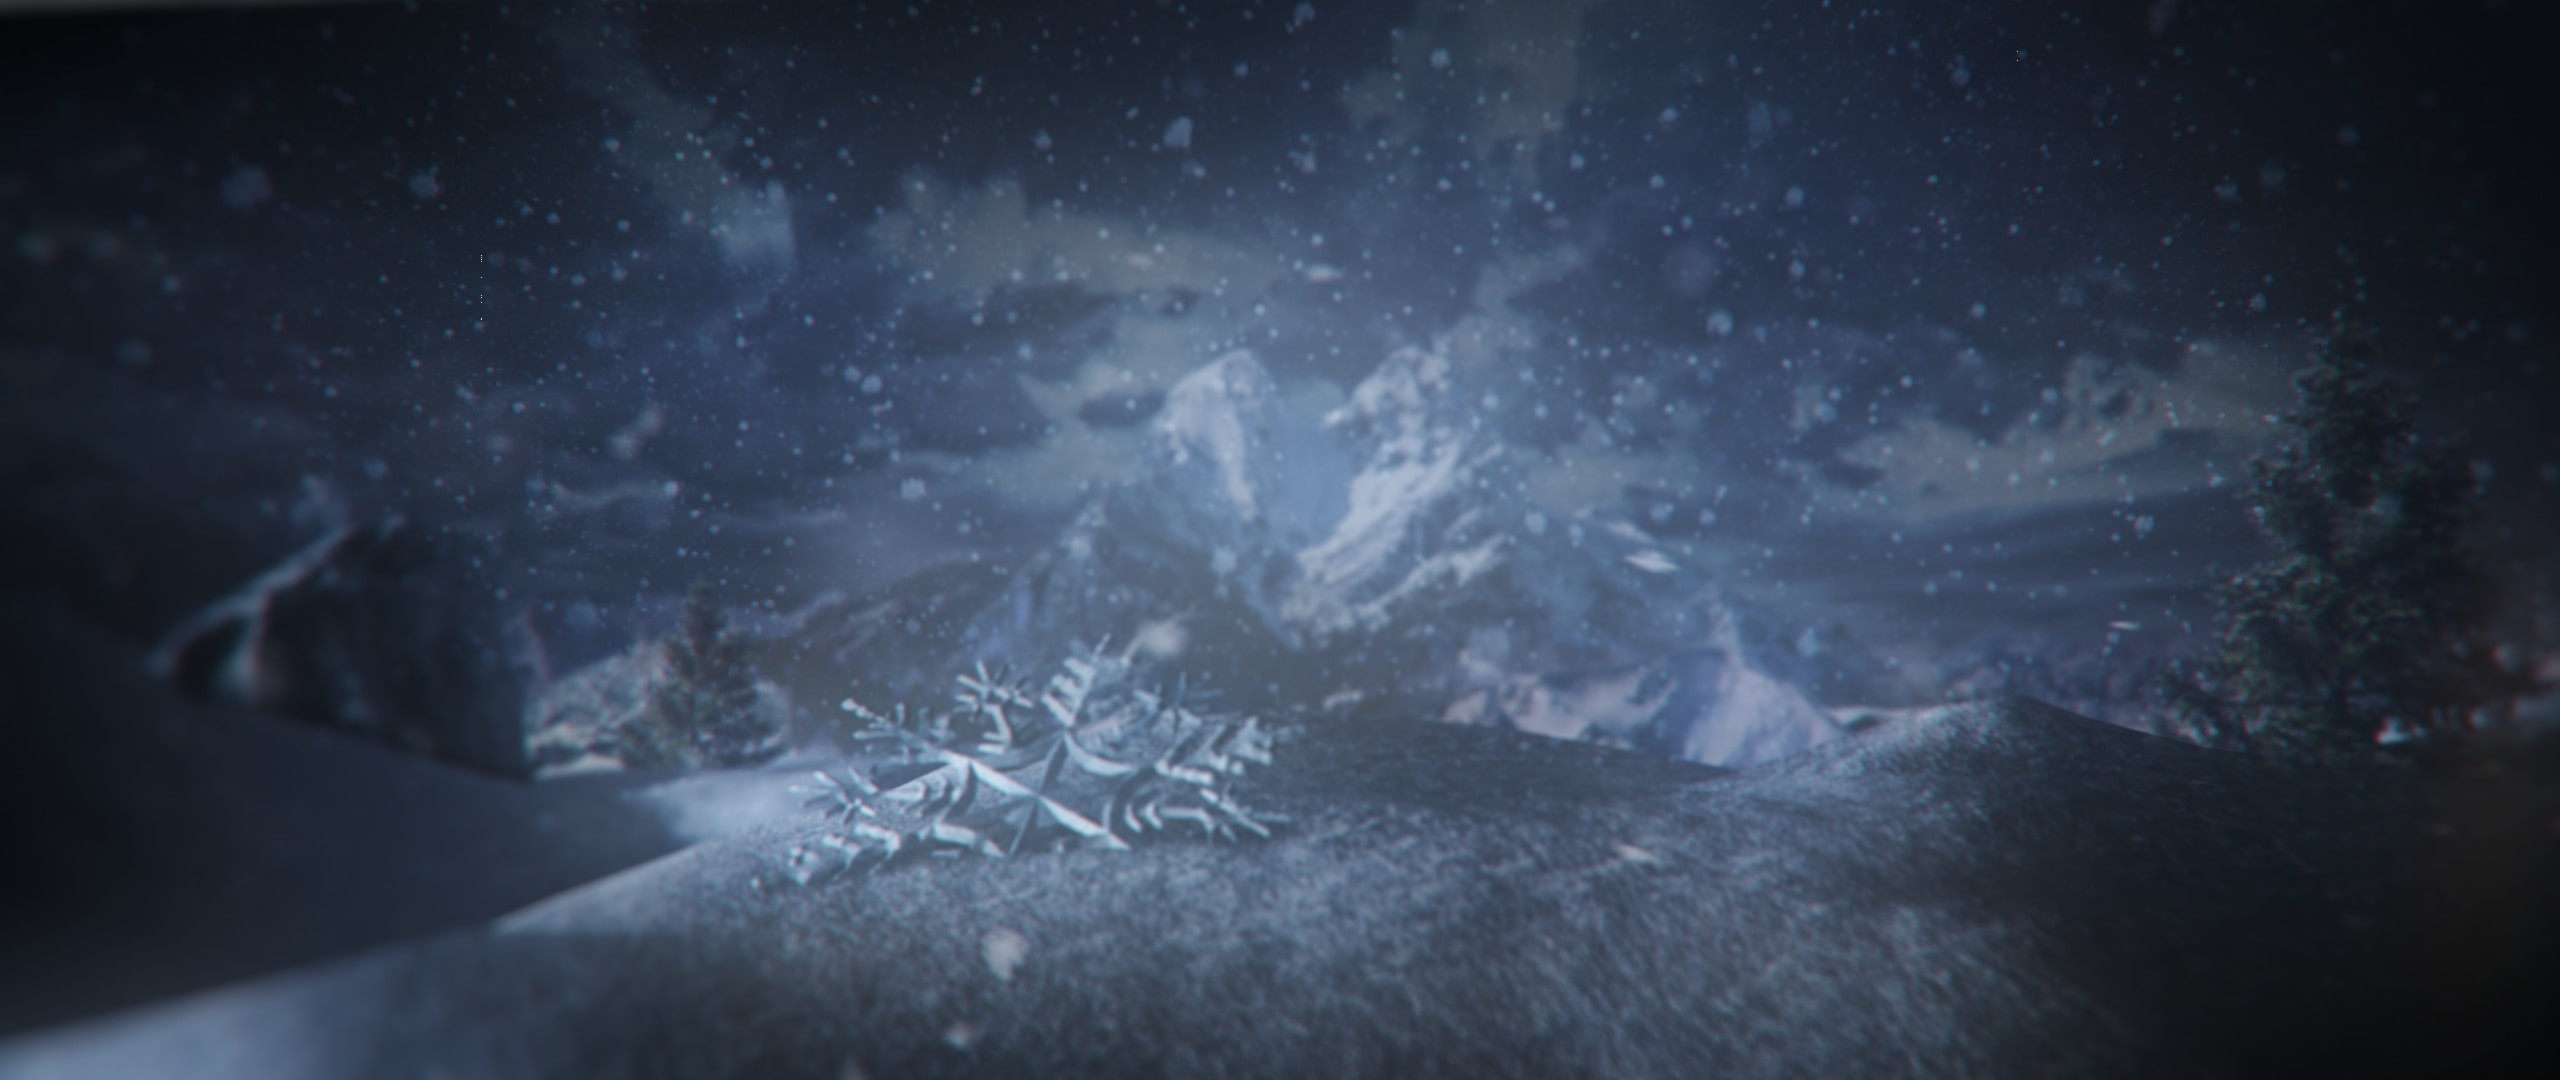
DAY 4 – Into the Storm
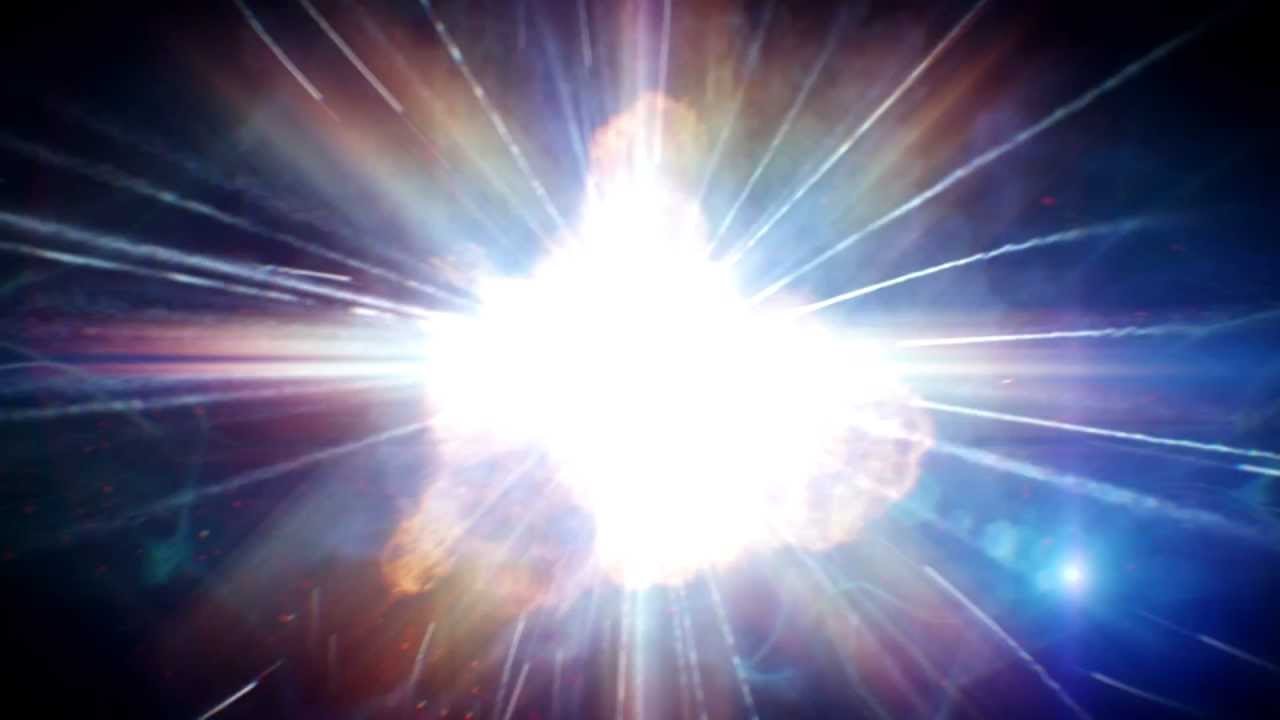
Creating a realistic 3D storm in less than 24 hours was perhaps one of the greatest technical achievements on this video. The storm has a very important part in the history and even acts as a character itself. It was crucial to get the effect right.
The particle system incorporates clouds, rain and even the water droplets on the camera lenses (which distort the image underneath as real water would do). All of this is a render time of less than 20 seconds each frame. What I wasn’t able to do is applying motion blur to the clouds, but I manage somehow to fix that in post.
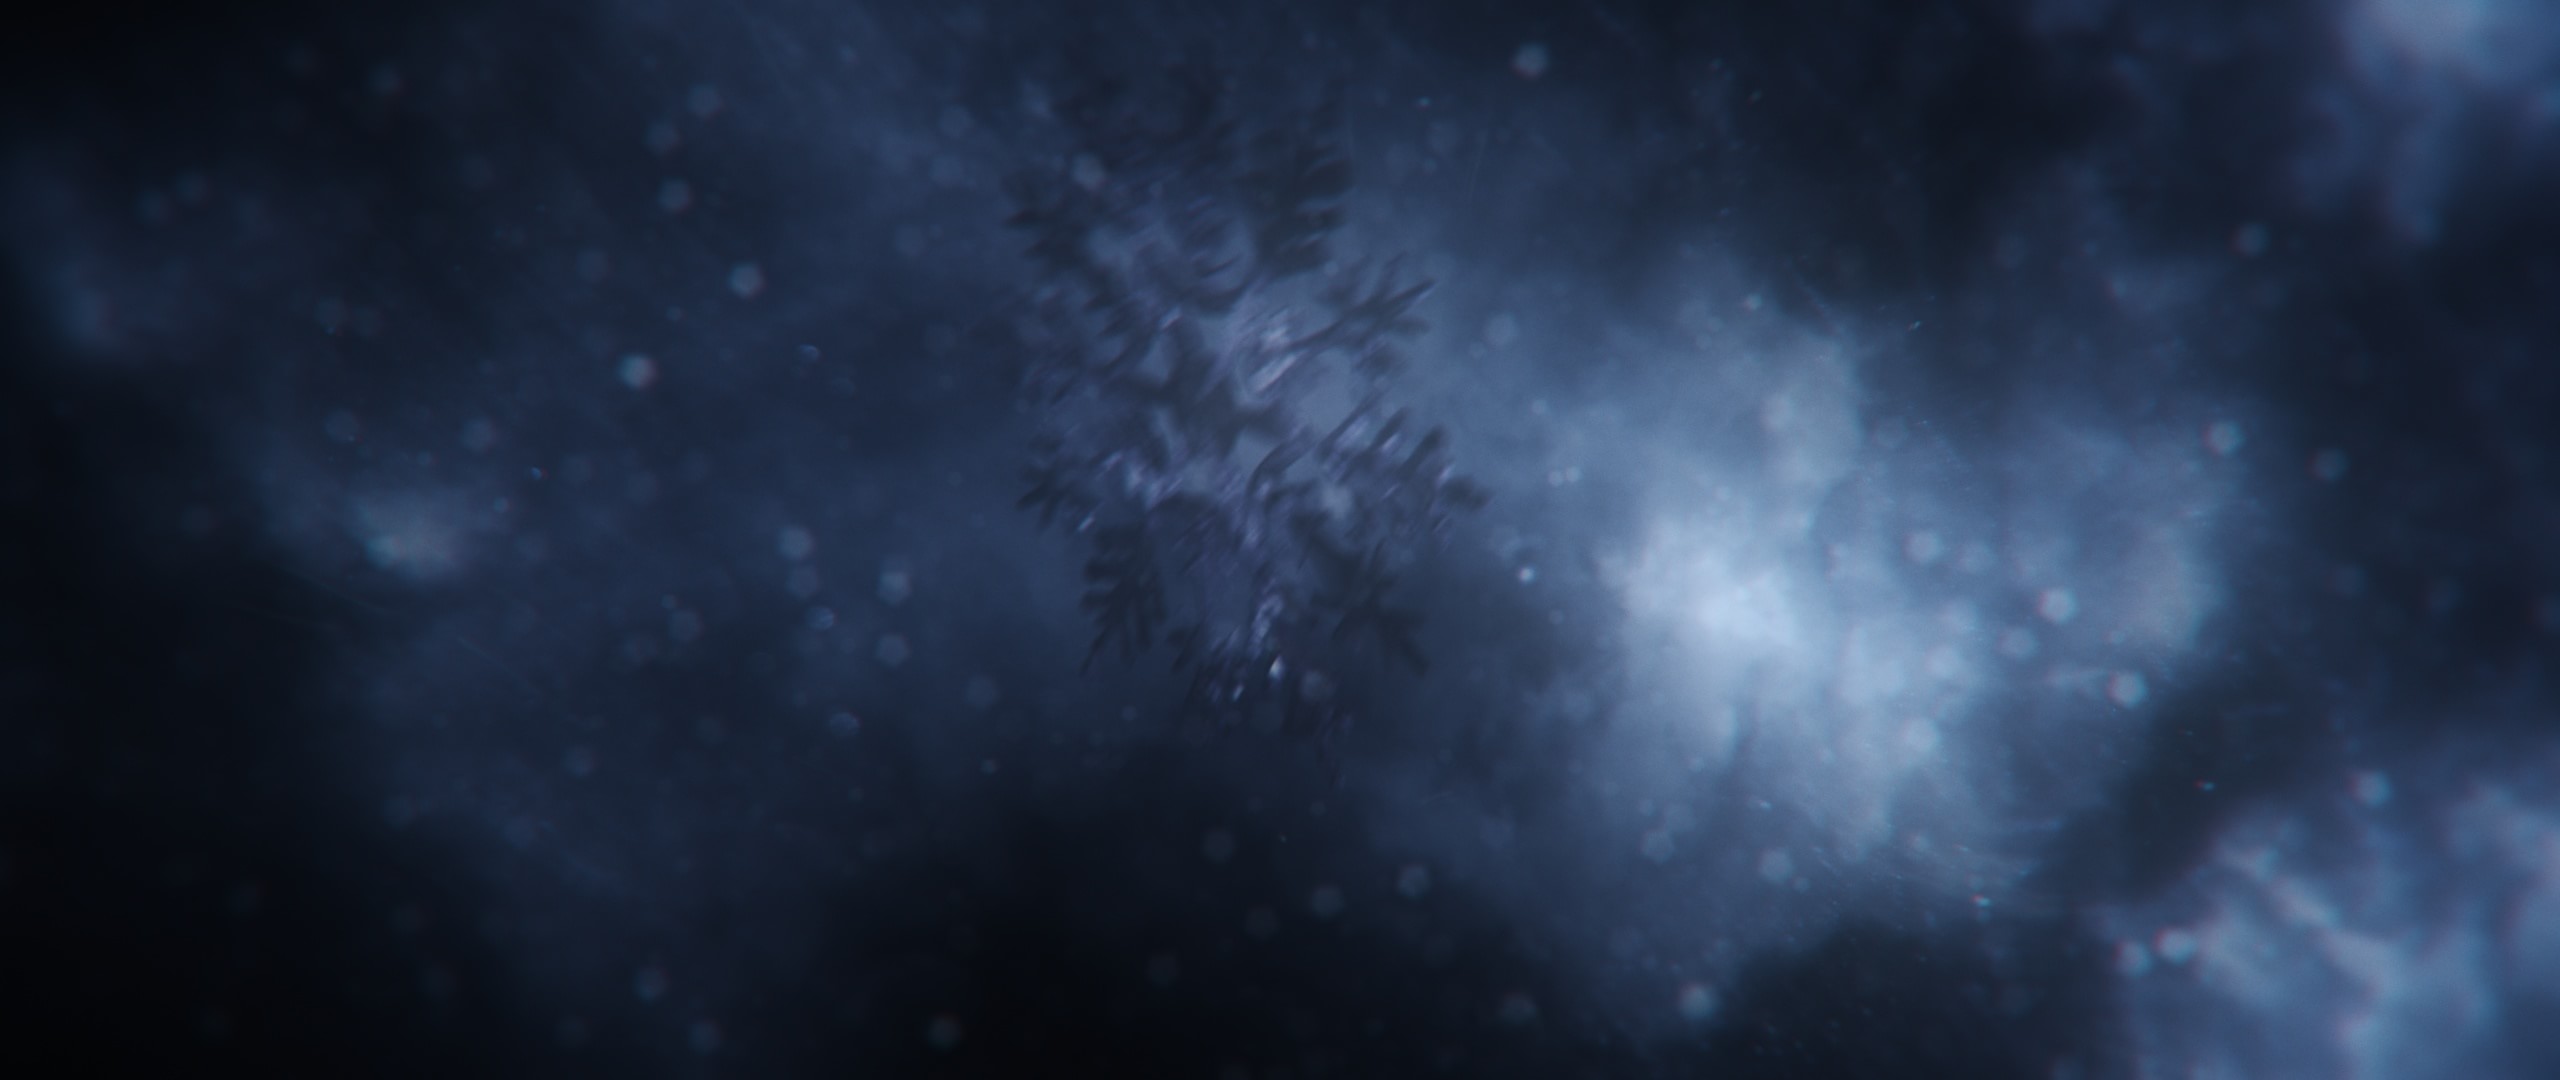
The clouds were created with 10 frames of fractal noise animation. Those were used as textured sprites on Particular. The camera doesn’t move on the hole sequence at all. In fact, the only thing that is moving is the snowflake. The clouds are directed using wind forces and the camera only rotates around its axis.
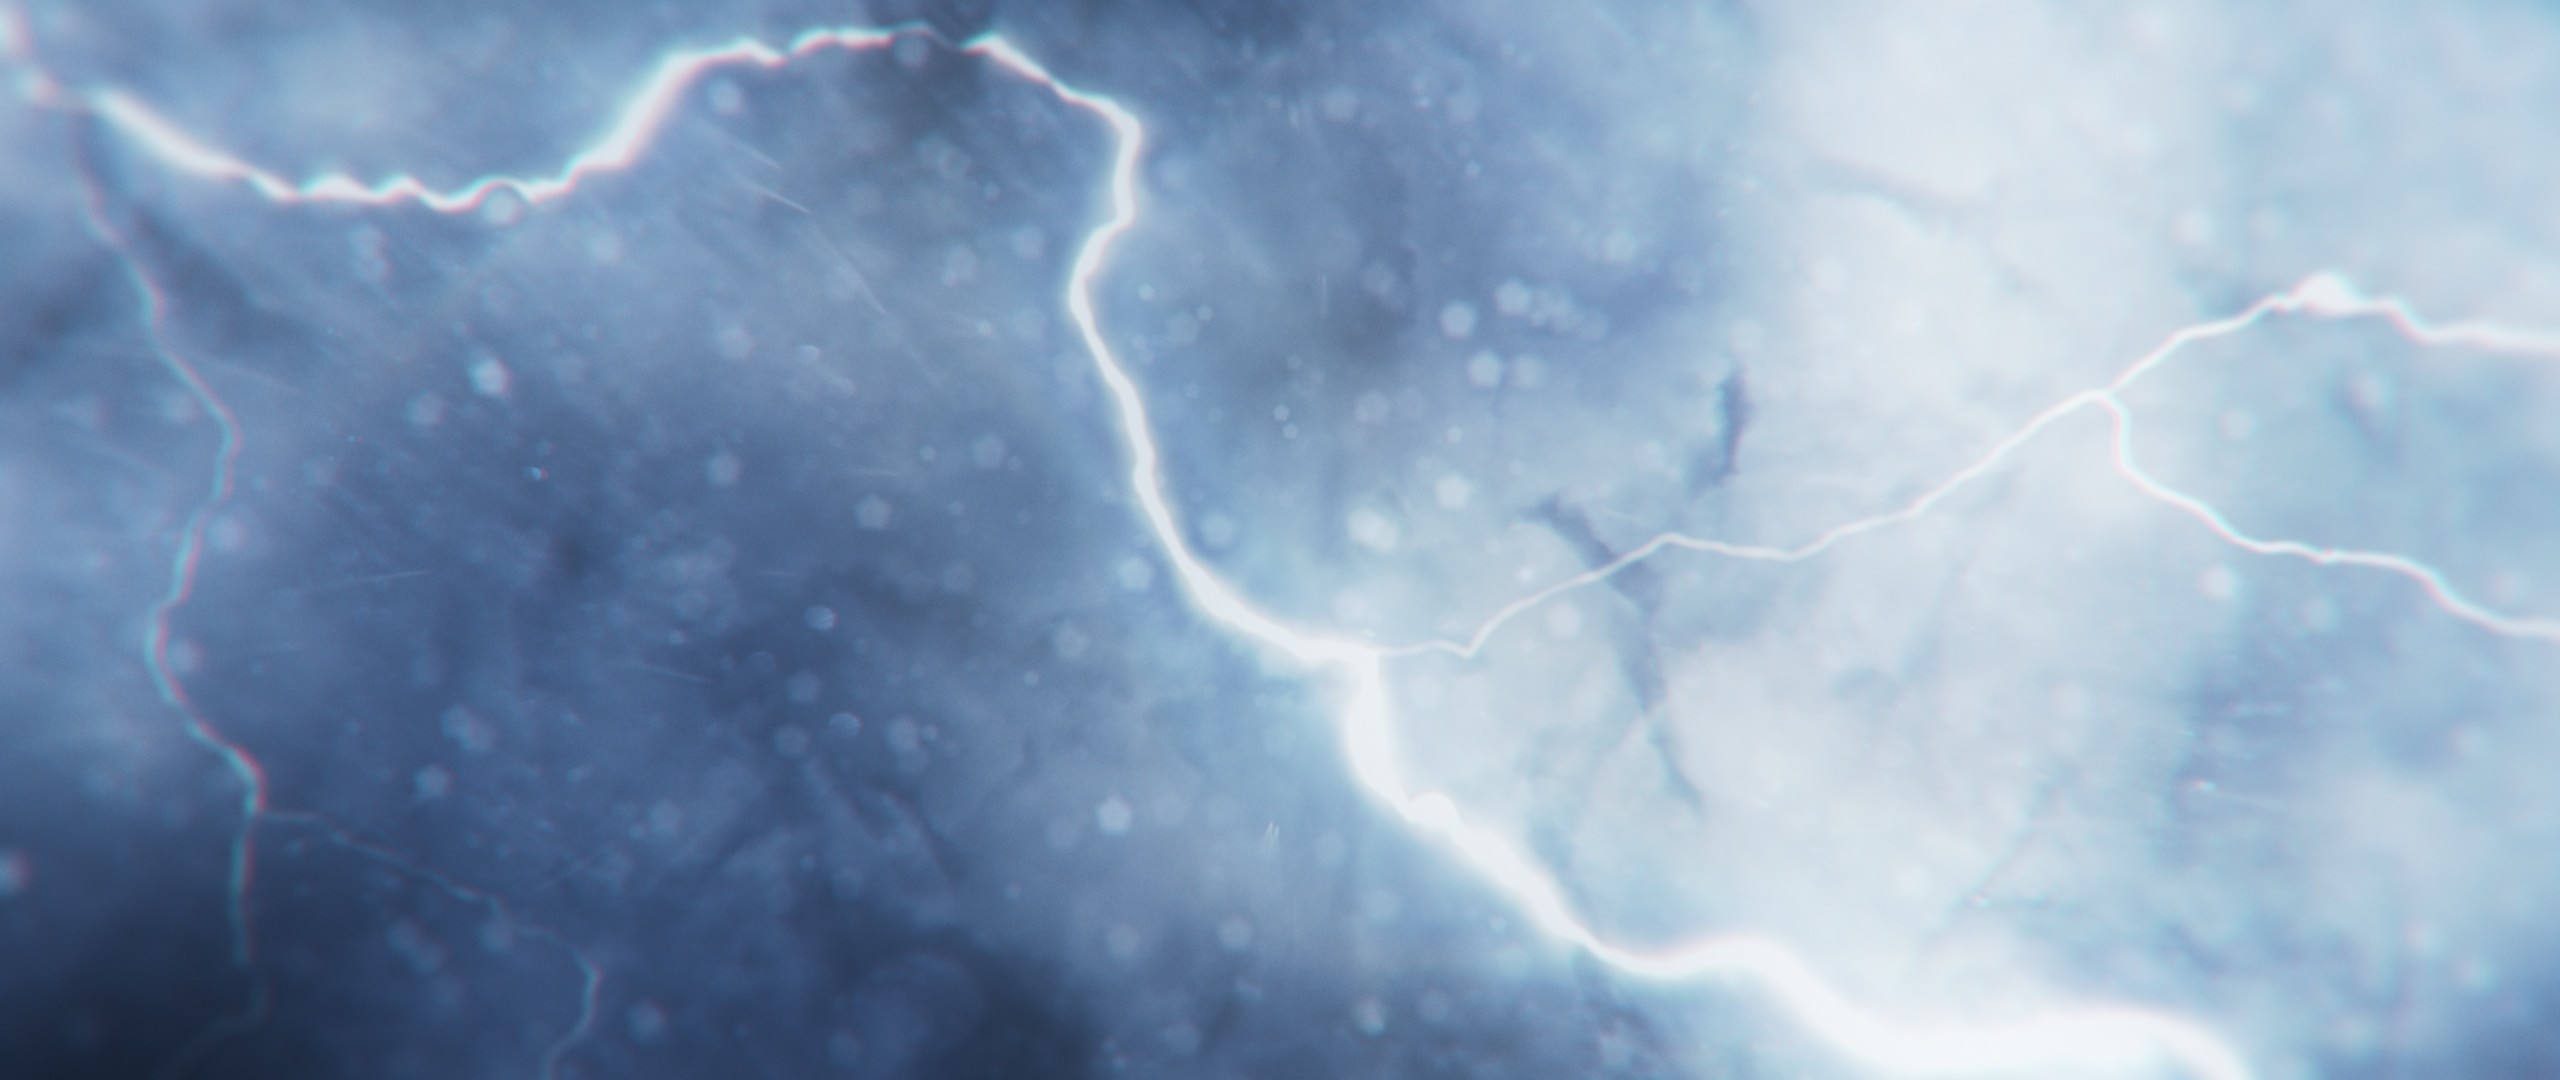
DAY 5 – Lightning and Shadows
For creating the inside the storm lightning I needed to understand how electric volts work. I found some amazing footage of slow motion storms where you can see how do lightning bolts form. I used that animation as a reference all the time. One of the things I repeat all the time is: “Do not let your tool define your style”. Using some built in effects (like After Effects’ lightning) for creating the bolt would have been very noticeable.
Also, it was important to light the storm scene so as it looked like the light was passing through the clouds. This and the shadow rays that the snowflake casts when passing near a bright object were completely faked when compositing. I used some clever tricks to simulate how where would volumetric light rays actually been if they had been rendered with mental ray.
The fact that there were no actual light scattering or ray tracing options enabled when rendering really kept the processing times as slow as possible, allowing me to finish before the deadline (which was obviously on Christmas!).

DAY 6 – Sound FX and Rendering in 2K
I am not a sound designer, but I understand the importance of having great sound effects that complement the images. It was important to design a soundtrack that matched what I had done with images. I used many broken glass sounds from many different free sound fx websites.
Working in 2K was also something new for me. And even more if you add the short time I had to deliver the whole thing. Luckily, I could handle the render times using some compositing tricks that helped to keep fast renders.
To achieve a cinematic look I used the old-school tricks: the anamorphic format, the chromatic aberration (yes, sometimes even too much!), the DOF and some lens flares (note here: J.J.A. don’t screw it up!).
Although there are thousands of things I would definitely change and improve if I had time, I’m really proud of the final video. I’ve learnt many techniques that I will definitely be using in future projects, specially in the storm shots.
Wishing a Merry Christmas in a VFX way
The first video-card I created for Christmas was back in the year 2009. It was a very short, very simple idea (but I have to admit that I couldn’t replicate that particle system even if I wanted to!). Since then, each year has been a greater challenge. The 2003 video it’s still my favourite, though. It includes some of the very first 3D animations I had ever done. The overall style of all the videos remains the same year after year. I always try to give videos a personal approach, a personal look. It won’t be hard to find personal signatures on all the videos. And no, I’m not only talking about adding thousands, millions of particles!

The first 2010 video. Because The tree was modelled using a particle system. I had to work hiding from my teacher on IT class. Watch it here!

The 2011 version is much colder and it features a not-so-bad “matte painting”, considering my complete inexperience at that time.
The 2012 video is my favourite. It really show a technical improvement of my skills. It also features some 3D using the Element render engine. Check it out here!
Merry Christmas and a Happy New Year!