I have been recently playing with the Higx Point Render. It’s a powerful open-source render engine for Nuke, created by my friend Mads Hagbarth. It is powered by BlinkScript.
I’ve recreated some of the FX in the movie “Passengers” entirely in Nuke, using the new render engine. I’ve created 3 scenes: a red giant, a tokamak chamber and a zero gravity pool.
In this article, I’ll share some of the tips and insights on how I created these in Nuke. Let’s begin!
Note: All render times are from my laptop running an old i5 processor. It not only includes the particle render but also all the comp, defocus, etc. This is how long it took from beginning to start to process the whole shot (240 frames each clip).

Experiment 1 | Red Giant
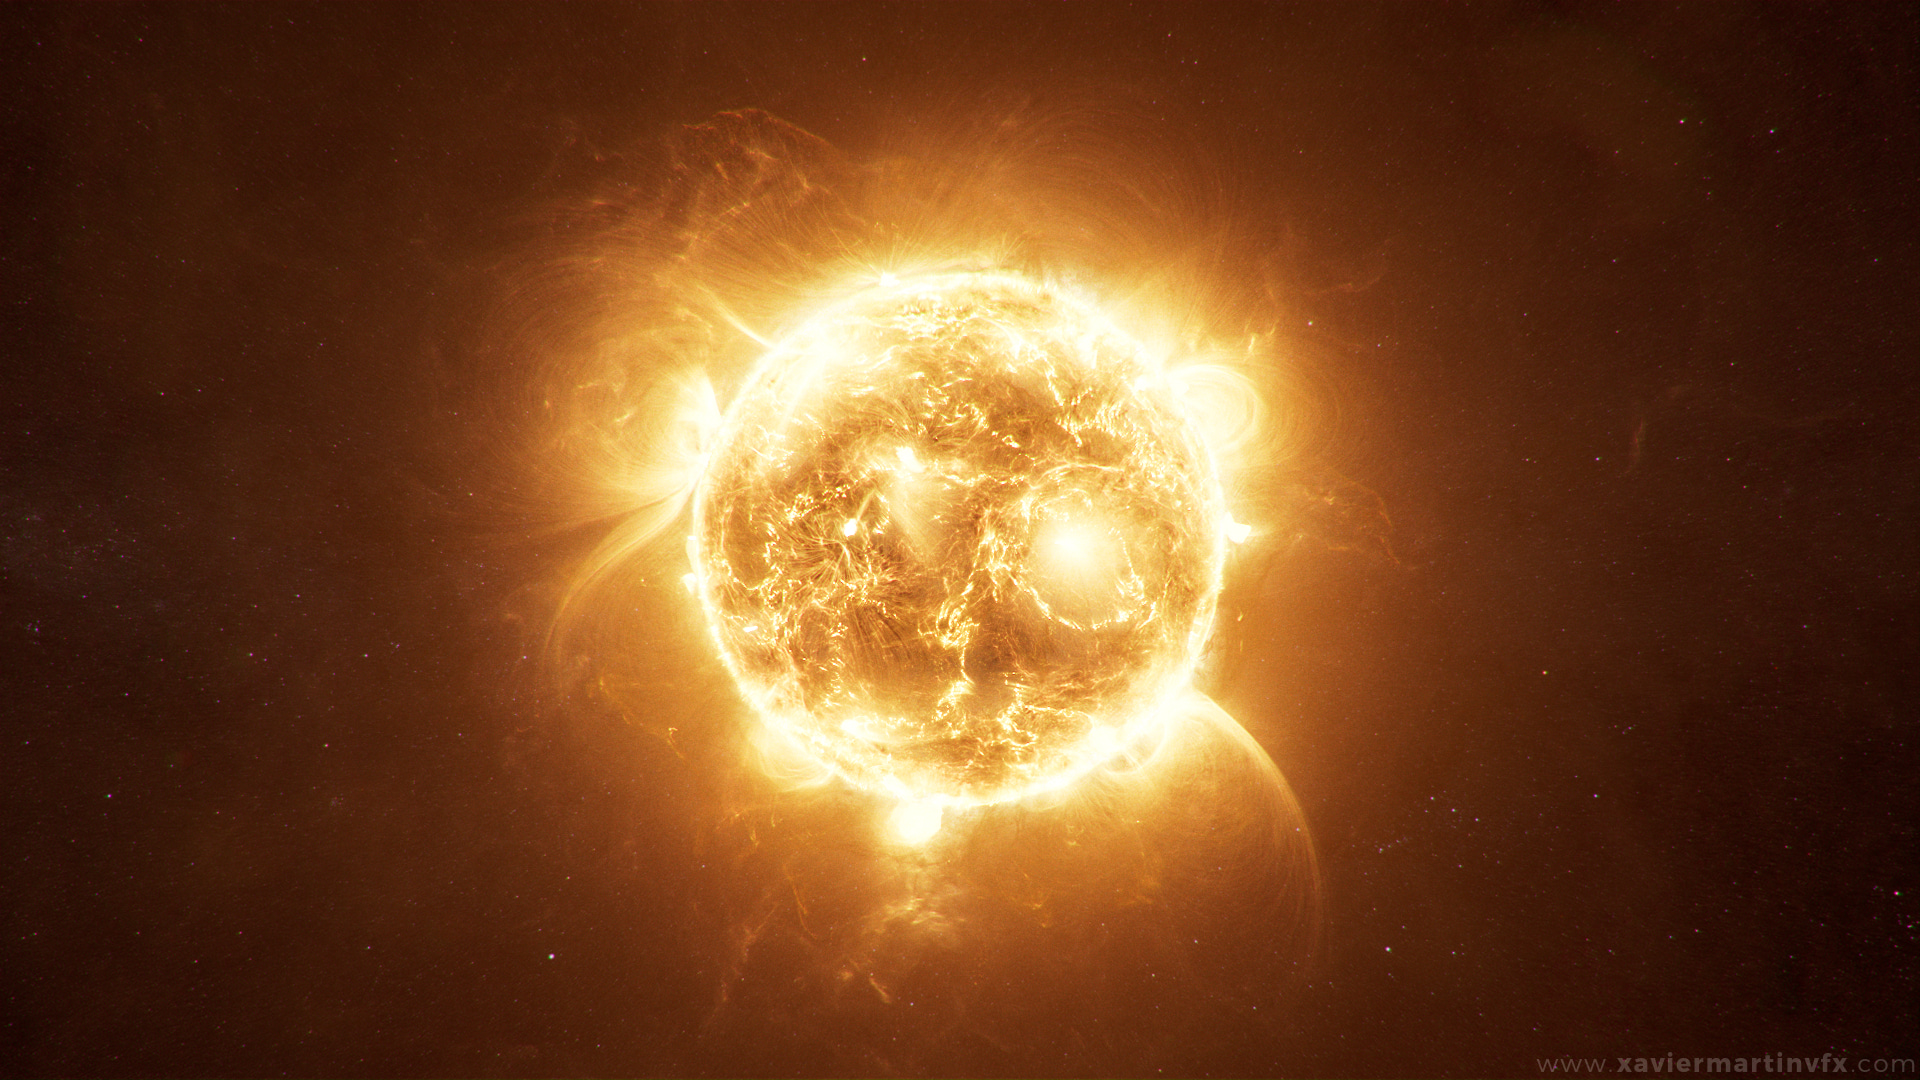
This shouldn’t come as a surprise. Obviously, the first I’m going to try to do when I get my hands on a new FX tool is to make a sun. It’s a quick way to test the different noise patterns and explore the possibilities of the tool
The setup is quite simple, a sphere with some noise, but it takes a while to get the right scale and detail.
Setup Time | 6 hours
Render Time | 3 hours
Particle Layers
Particle Layer 1 | Chromosphere
Particle Layer 2 | Magnetic Arcs
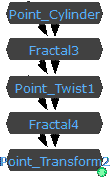
All the particle layers are based on a sphere. The first layer represents the surface, known as chromosphere. The technique used is quite straight forward: a sphere is distorted with noise patterns and then all the point positions are normalized, forcing them to stick to the sphere surface.
The second layer is made of pairs of attractive and repellant forces, mimicking the behaviour of magnets. Moving the particles away from the positive pole and towards the negative pole creates a very natural looking set of magnetic arcs. This was achieved with a custom generator.
Particle Layer 3 | Corona
Particle Layer 4 | Solar Eruptions
The outer layers are the simplest to set up. They are simply spheres with a couple of layers of noise. The corona has more low-frequency noise, making it extend outwards and creating a sense of ambient smoke or nebulous atmosphere around the star.
To recreate the solar eruptions, a duplicate layer of the corona with a tighter radius and denser point cloud adds scale and detail to the sun surface, completing the effect.
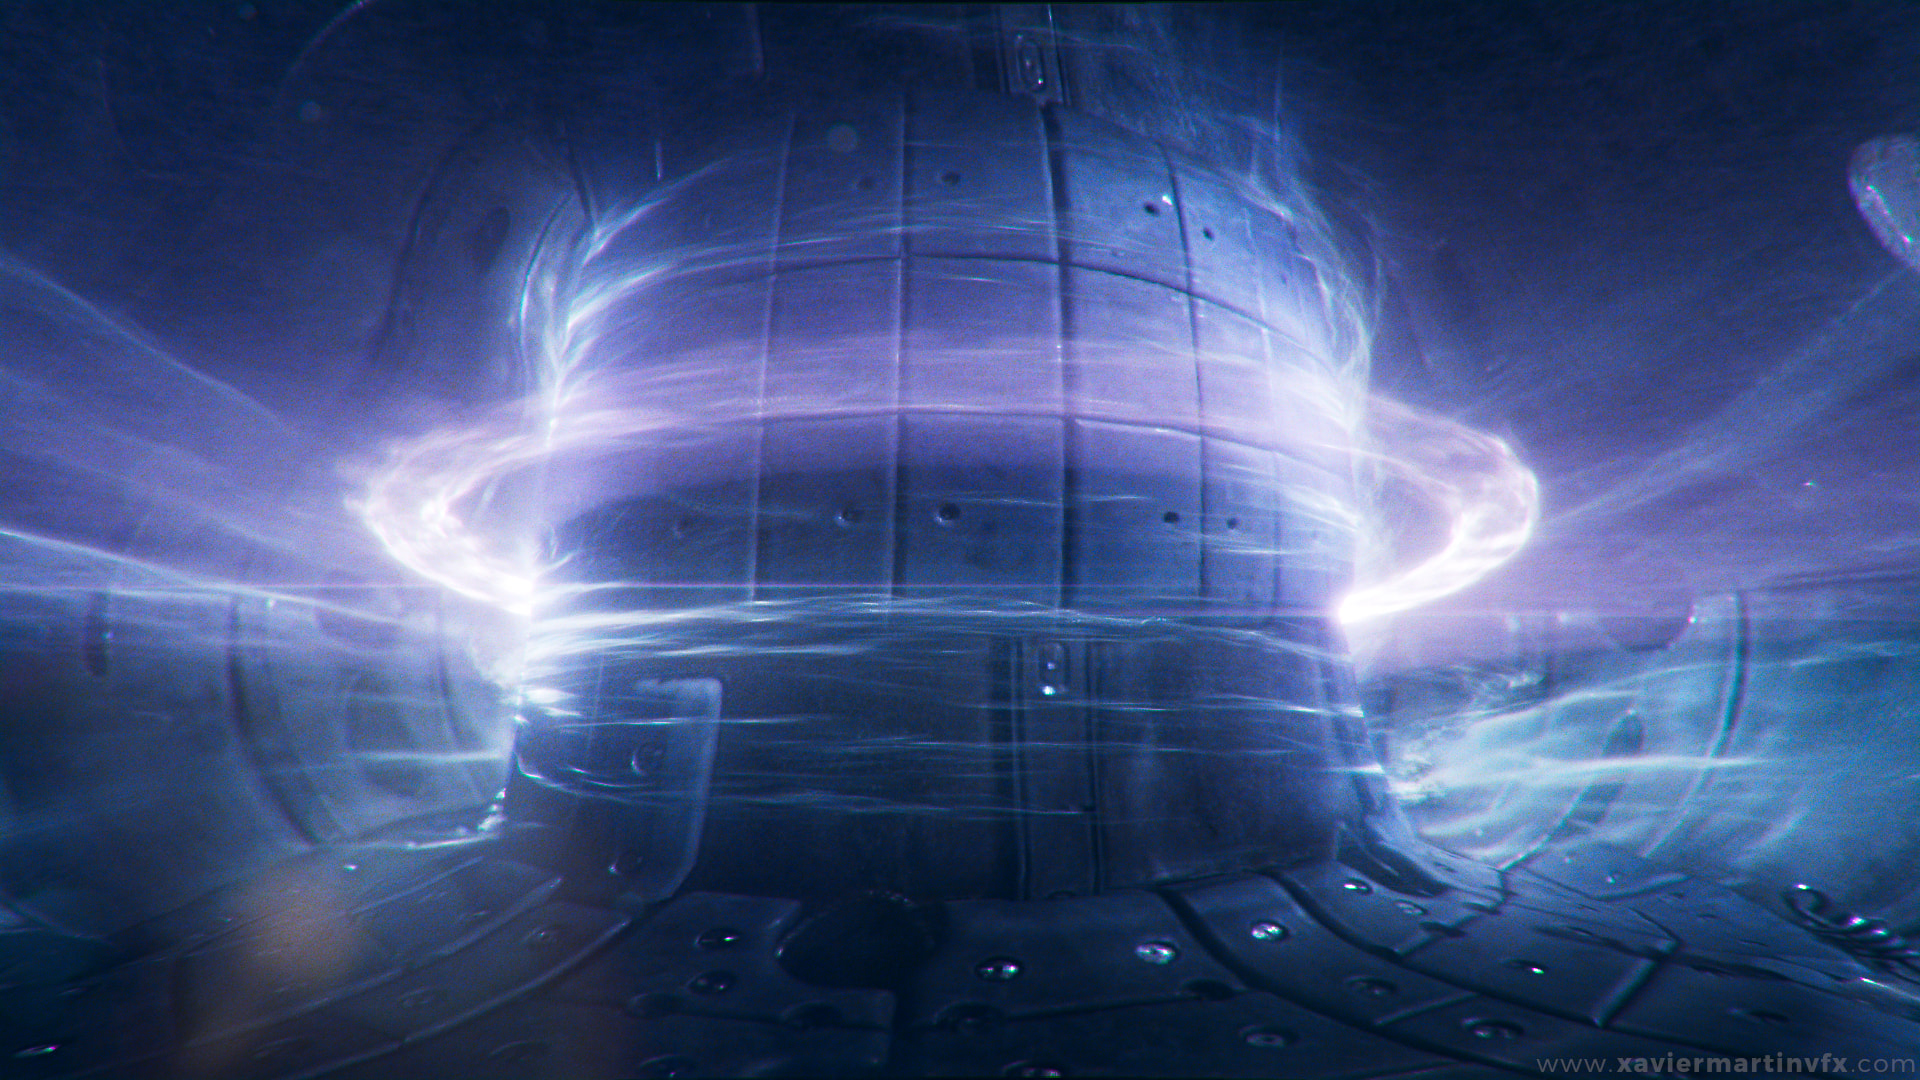
Experiment 2 | Tokamak Chamber
I got the chance to work in a similar effect for a short time in the movie Passengers. Tokamak chambers are nuclear fusion devices that have swirling rings of plasma inside a torus-shaped engine.
This was a pretty easy particle setup. Most of the time went to making the light the room “make sense”.
Setup Time | 4 hours
Render Time | 1.5 hours
Base Layers
We start with this image of a tokamak chamber. We project it onto a torus geometry and we set up a simple camera move around it. The projection is far from perfect, but hopefully, it will be hard to spot the stretches with all the effects on top.
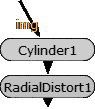
Tool Tip: I wasn’t sure how to model a torus in Nuke, but a cylinder with a radial distort can get you close enough.
As always when crafting images, light is a crucial element. Since we are not able to 3D raytrace a full render, we need to fake the light reflection on the metal plates and illuminating the environment. This is done using distorted particle elements and exponential blurs.
Once we’ve got out illumination layer, we add 1.0 to the image and then multiply it with the background. This gives a very realistic impression the background is being lit by the particles.
Particle Layers
Particle Layer 1 | Cylinder
Particle Layer 2 | Cylinder
The first two layers are based on a cylinder primitive. The setup is fairly easy, a quite tall cylinder with some turbulent noise. This gets twisted around the y axis a dozen times. A secondary layer of noise breaks any edges that may have become overstretched by the twisting. We animate it by revolving the particles around the y axis.
The tighter layer of particles around the core of the chamber is an exact copy of the setup, but slightly thinner radius. Both layers are held out by the projection geometry of the background.
Particle Layer 3 | Torus
Particle Layer 4 | Torus
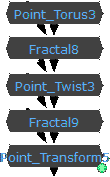
The purple ring layers are quite similar to the previous ones. A torus with a bit of low-frequency noise (to give the ring a bit of wobble) gets twisted vertically. Another layer of noise breaks it up and adds the high-frequency details. This gets spin very fast around the central axis.
For the coarse volume layer, we apply the noise only to the x and z axis and we give it a very large amplitude. This disperses the particles in a sheet, giving them a volumetric appearance.
Experiment 3 | ZeroG Water
I wanted to see how far I could push the tool. At first, rendering realistic water seemed like quite a challenge. I was surprised by how straightforward it was to build a custom water shader. This was done by piecing together the different AOVs that the point render can generate.
Although it requires a bit of shading knowledge to recreate a complex material like water, this proves the possibilities of this tool are very open indeed.
Setup Time | 4 hours
Render Time | 3 hours
Particle Layers
Particle Layer 1 | Plane
Particle Layer 2 | Sphere
This scene has two elements, the floor water with a slice of volume underneath and the floating sphere of rippling water above. The first layer is quite simple to achieve: a plane with some noise will do. The ripples add a sense of water behaviour. The very fine displacement of the water comes from footage of water I shot in Tasmania.
The volume under the plane is actually the easiest element to achieve. It’s really just some vertical GodRays based on the alpha with a bit of tint to make it look blue.
Normal, STMap and Fresnel passes
Volume pass
The sphere has four different layers: A refractive component, a reflective component, an inside volume and a diffuse component. The diffuse component is quite simply some footage of water projected onto the sphere. The volume is generated by rendering the backface and front face separately and subtracting the depth values.
For the reflection and refraction, we render a normal pass that allows us to STMap a spherical environment. A facing ratio pass allows us to blend between the reflection and refraction in a realistic manner.
“Never quote me, I’m full of bull****!”
Mads Hagbarth