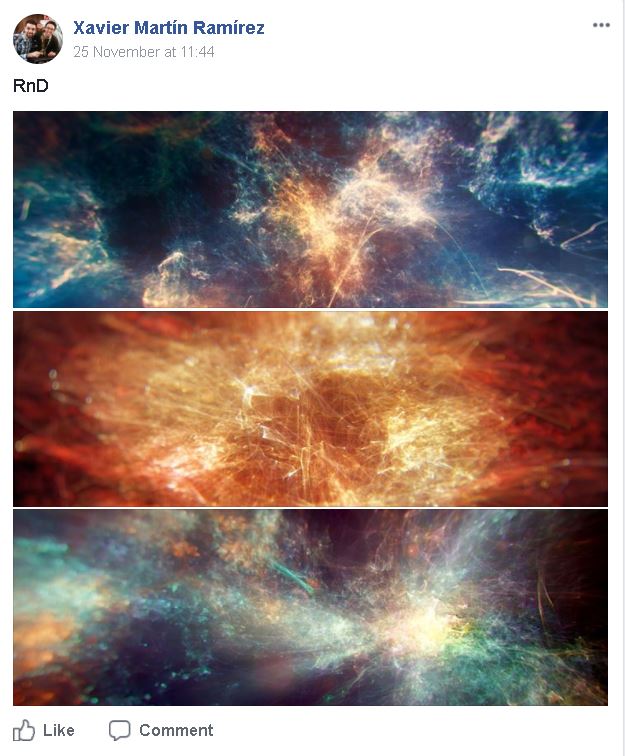
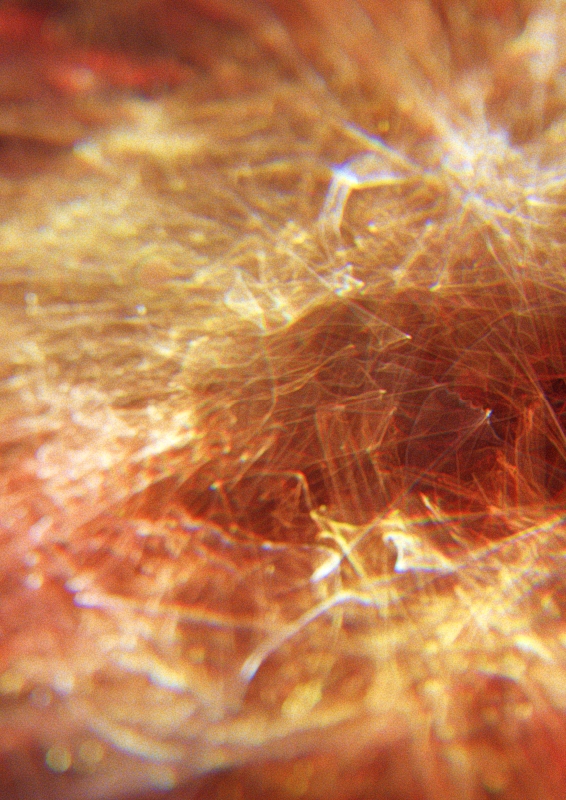
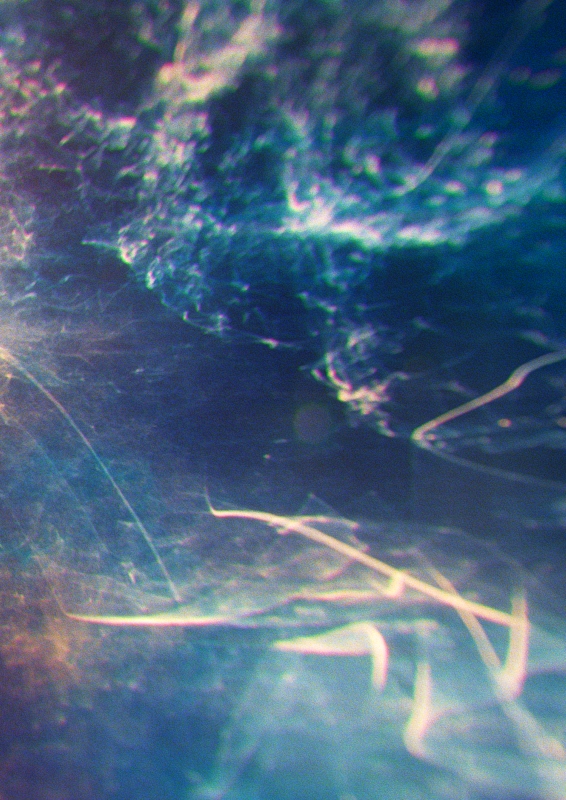
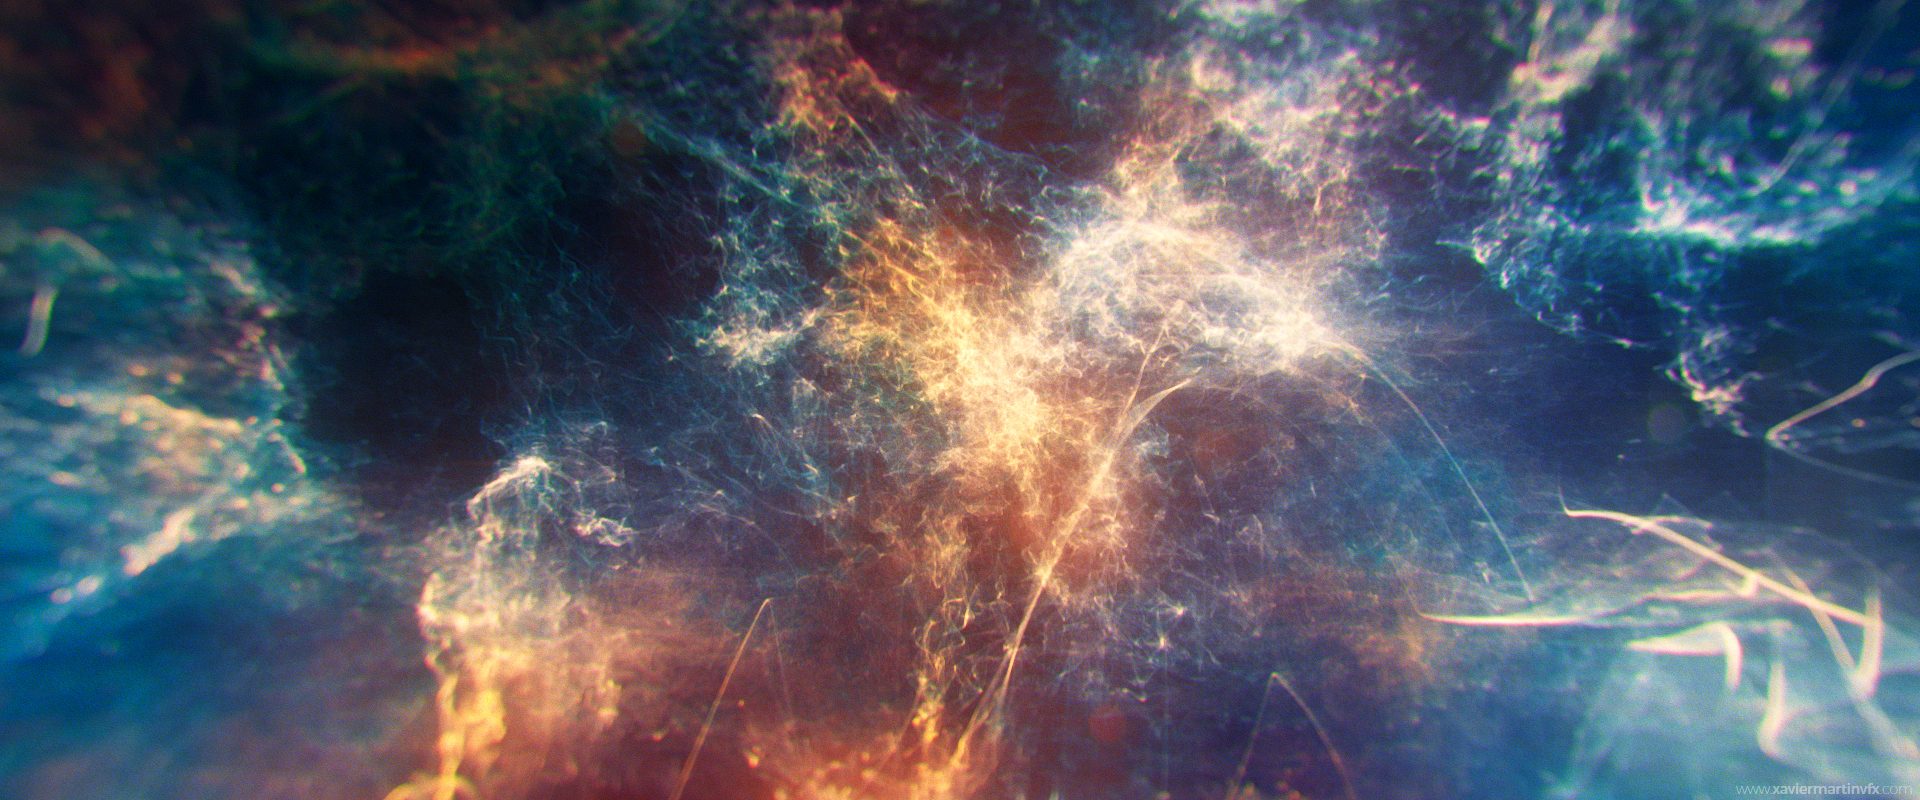
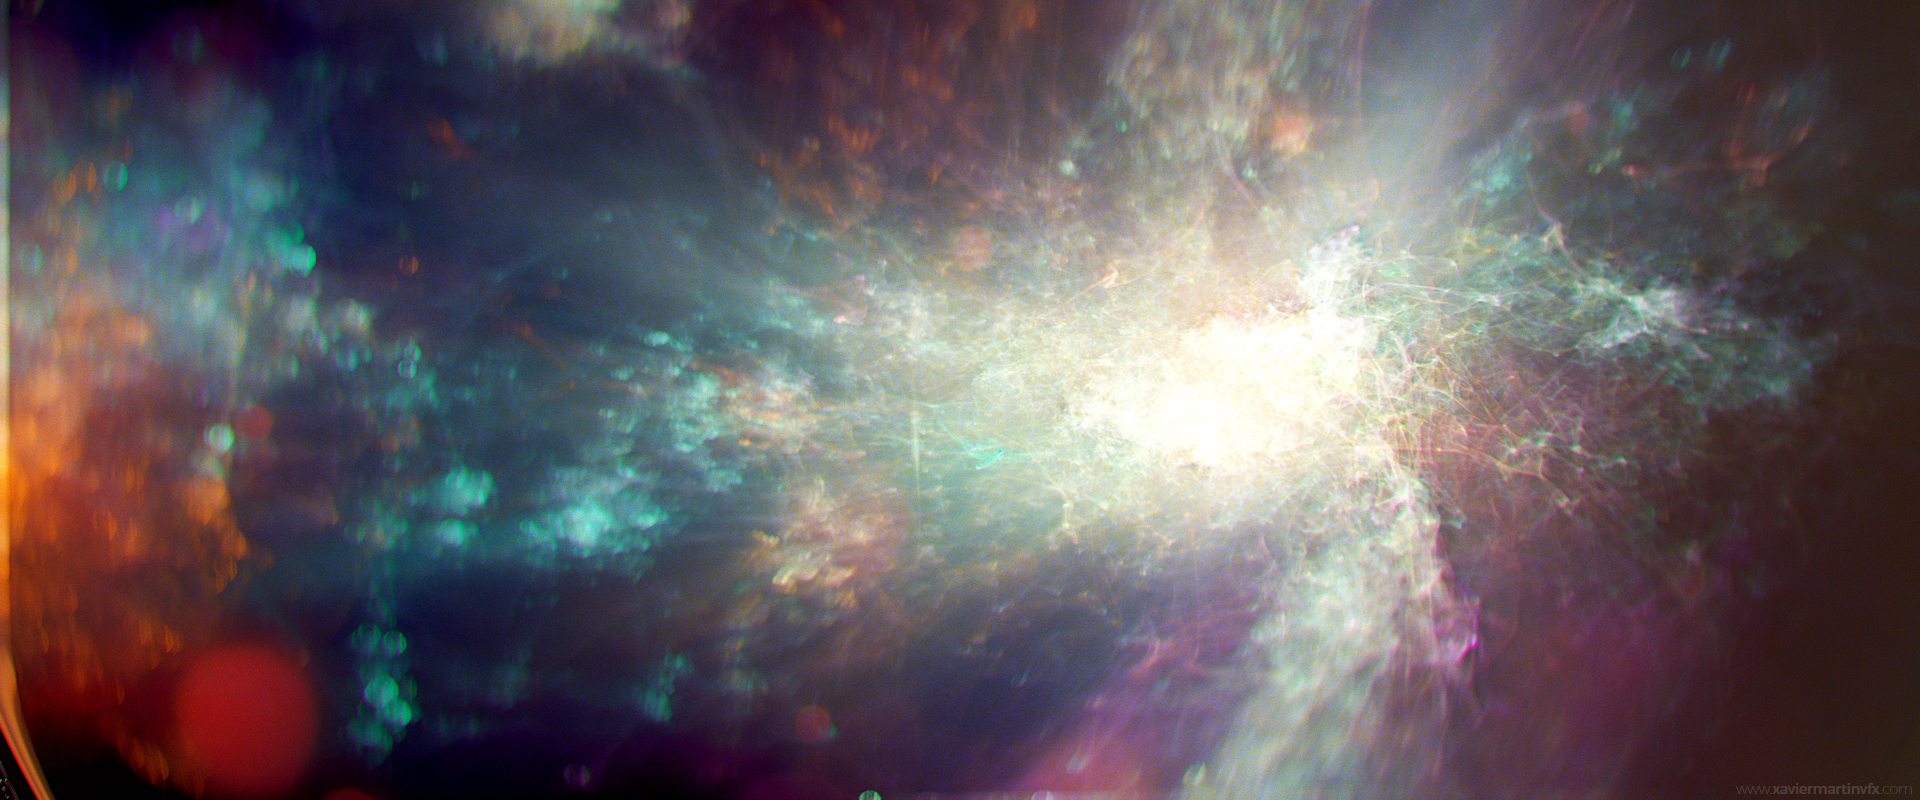
This is my first Developing Blog (hopefully it won’t be the last!). Yesterday I posted a few images to the Facebook Nuke Group, which you should definitely join in if you haven’t already. The nebulae on the images are made of thousands of points, being rendered directly in Nuke.
So far I’ve only posted on this website when a tool was finished and ready to download from Nukepedia or when I wrote an article not related to any project in particular, such as The Oscars post. This is the first article talking about WIP tools that I am researching just for fun. These may never become a tool on their own. It depends on how challenging they become, how busy I am at work and my general level of interest on the subject.
Due to popular demand, I thought I’d break down the creative process behind those images. This is not going to be a very well structured article, but rather a spit of random thoughts and ideas.
But first, this is what we will be talking about:
1. Rendering Points
The motivation behind this was simple: before Nuke, I used to be an After Effects user (for around 8 years). Nowadays I wouldn’t think it twice before choosing Nuke rather than AE. But still, there are a few tools that I missed when I moved from one software to the other. The first one was the Turbulent Displacement effect in AE, so I created X_Distort. Then I missed the Advanced Lightning effect, so I created X_Tesla. You can probably spot the pattern. At first, I thought any AE tool could be replicated using the basic nodes in Nuke (merges, grades, IDistorts, etc. But I was wrong.
It’s been two years since I started playing with Blink. I believe it is one of the most powerful VFX tools out there. This is my first attempt to use it as a rendering tool if you ignore the simple waveform tool I did a while back. Point rendering is something that cannot be achieved using the basic building blocks that Nuke has, but Blink breaks this limitation.
I am not the first one to walk this road. If you haven’t seen Mad Hagbarth’s Nuke point rendering system you should check it out right now. My tests were much more basic and didn’t even support full 3D rendering, but still, it’s been a great side project with a lot of learning as a result.
Maybe at some point (no pun intended) I will clean up the code and publish it in some form. This is not on my priority list at the moment, though.
Here are some tests with different point densities and quality settings. The first 3 examples run at very decent speeds, the first one running at real time and the bilateral running at around 9 fps. The highest quality example took around 6 seconds to render every frame. This is very dependent not only on the machine’s CPU but also on the complexity of the example. Complex colour shaders also contribute to slower renders.
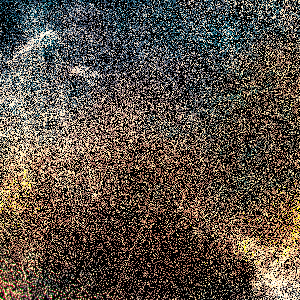
90.000 points

1.440.000 points
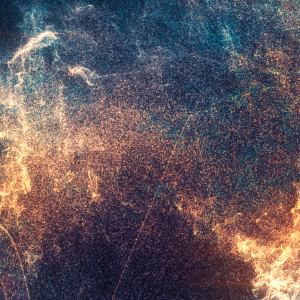
810.000 points (bilinear filter)

144.000.000 points
2. Bokehs
Everyone has a pretty good idea in their minds of how Bokehs look like. But there isn’t a magic formula for recreating them. This because they can be very expensive computationally. In Nuke, you can get pretty close using the ZDefocus with a custom image filter. But there are a few key features that can be harder to achieve.
One factor would be that bokehs look differently depending on their position on the image. Bokehs near the edges get stretched, curved around and often appear cut as if they were missing part of the lens. You can find some Nuke implementations of this effect made by Mads or by Alexander Kulikov.
There’s also the chromatic aberration caused by light with different wavelengths being refracted with slightly off angles. Here I implemented X_Distort inside the convolution to get some colour fringe in the resulting shapes. This is not very physically accurate but happens to be very cheap to compute.
And if all of that wasn’t enough, I was also mind blown when someone told me about bokeh caustics. They are as expensive as it sounds.
My approach in this examples was focused on performance rather than quality. I do this kind of research in a rather modest laptop and I can’t afford expensive renders. I still think the world needs a fast and versatile algorithm capable of doing ZDefocus with non-uniform bokehs and colour fringing with speed vs. quality controls. There’s still plenty of work to be done in this area.

Circular kernel

Image kernel

Image kernel with aberration

Non-uniform kernel
3. Sharpening
Let’s say this deserves an article on its own… :)

“There are two possible outcomes: if the result confirms the hypothesis, then you’ve made a measurement. If the result is contrary to the hypothesis, then you’ve made a discovery.”
Enrico Fermi